Beginner
How to create a Klaytn account on Metamask wallet
In this tutorial, we will guide you through the process of setting up a Klaytn account on the popular browser extension, Metamask. Klaytn is a decentralized platform that enables the execution of high-performance, scalable, and user-friendly applications. With a Klaytn account, you will be able to access and interact with the Klaytn network, as well as store and manage your digital assets securely.
Metamask is a browser extension that allows you to interact with the Ethereum and Klaytn networks through your web browser. It serves as a bridge between your web browser and the blockchain, making it easy for you to access and manage your digital assets.
By the end of this tutorial, you will have a fully functional Klaytn account on Metamask and be ready to start exploring the Klaytn network. Let’s get started!
Metamask
MetaMask is a free web and mobile crypto wallet that allows users to store and swap cryptocurrencies, interact with the Ethereum blockchain ecosystem, and host a growing array of decentralized applications (dApps). It is one of the most widely used crypto applications in the world.
Step 1. Create a Metamask Wallet
Go to this Link : The crypto wallet for Defi, Web3 Dapps and NFTs | MetaMask
You will find a button to download the wallet in the browser you are using.
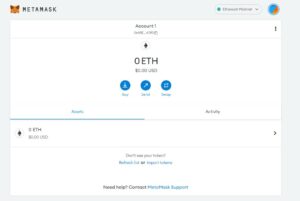
Once installation is successful, and open you will appear a screen.
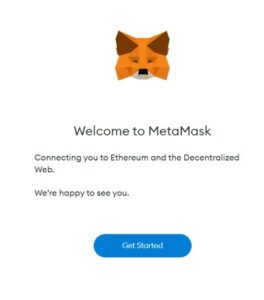
A video will appear on your screen it will tell that how do you secure your wallet and security feature.
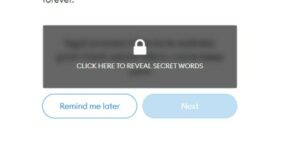
Then on continuing by clicking on next the screen will appear with Secret Recovery Phase click on lock button it will show you some words write it down somewhere to keep it secure because it is the only to recover your account if by any mishappening you lost your account this key will you to recover your account.
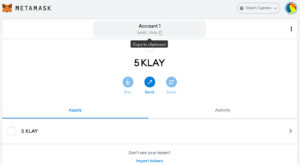
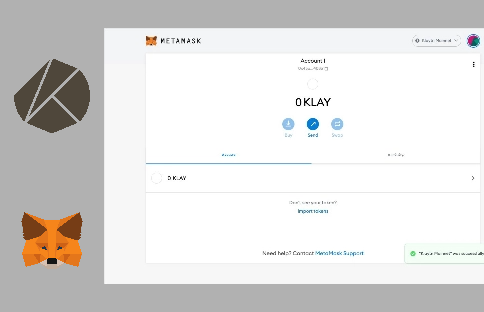
After verification your account is successfully setup
By this you complete this workshop successfully!!
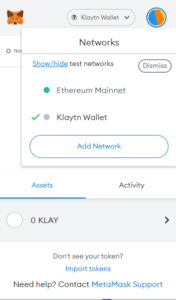
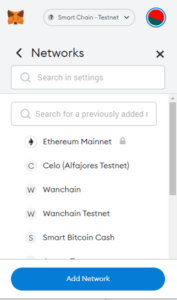
Step 2. Add a Klaytn Network to Metamask
MetaMask select Settings > Networks > Add Network
Add the Klaytn Network details to Metamask
Enter the Endpoint Node (EN) data of the Klaytn chain.
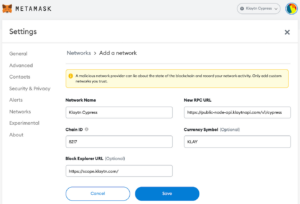
Cypress Mainnet
Network Name: Klaytn Cypress
New RPC URL: (Default: https://public-node-api.klaytnapi.com/v1/cypress)
Block Explorer URL: ![]() Klaytnscope
Klaytnscope
Chain ID: 8217

Baobab
Network Name: Klaytn Baobab
New RPC URL: https://api.baobab.klaytn.net:8651
Block Explorer URL: ![]() Klaytnscope
Klaytnscope
Chain ID: 1001
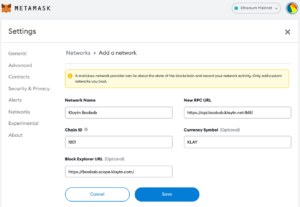
Common
Currency Symbol: KLAY
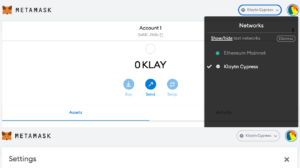
You can view the Klaytn network configuration from the MetaMask Networks screen