
Beginner
How to Connect Aurora to MetaMask
MetaMask is one of the most widely used and downloaded wallets for keeping digital assets such as cryptocurrencies. If you’re just getting started with a MetaMask wallet, you may not realize that you can connect it with many other blockchains beyond Ethereum. To download the extension, you can visit the official MetaMask website.
MetaMask is extremely versatile and is compatible with most decentralized applications (dapps) and decentralized exchanges (DEXs), including the Binance Smart Chain (BSC). If you want to use MetaMask with the Binance Smart Chain, here’s an easy step-by-step guide to make it simple.
Installing and setting up MetaMask
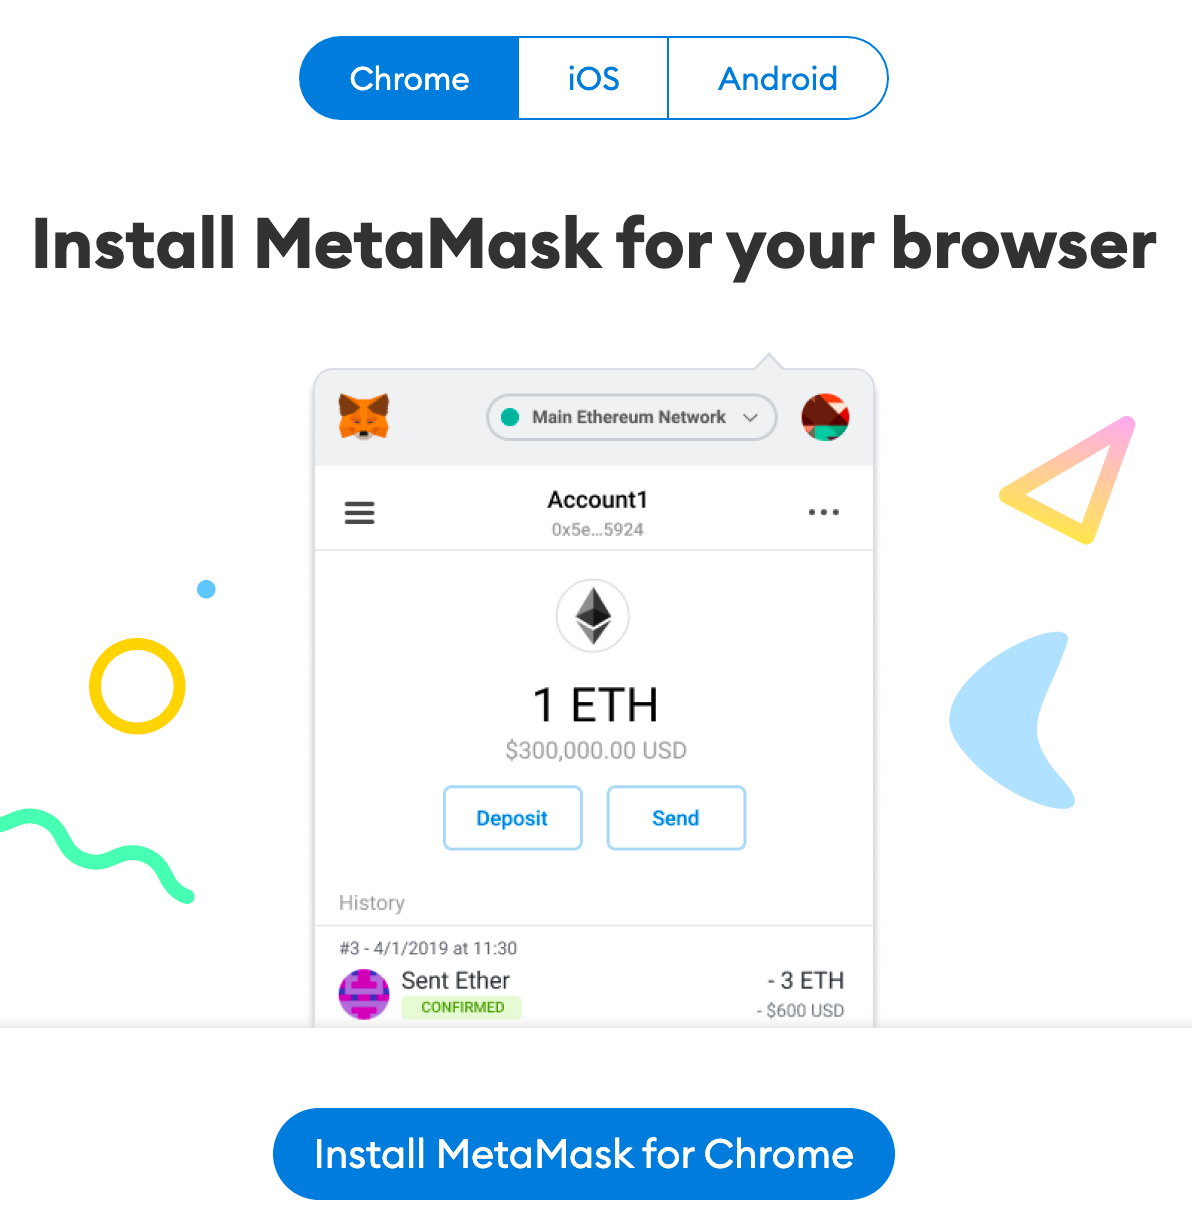
1. Download and install MetaMask on Chrome, iOS, or Android through the MetaMask website. To ensure you download the real version, double-check you are on the official MetaMask website.
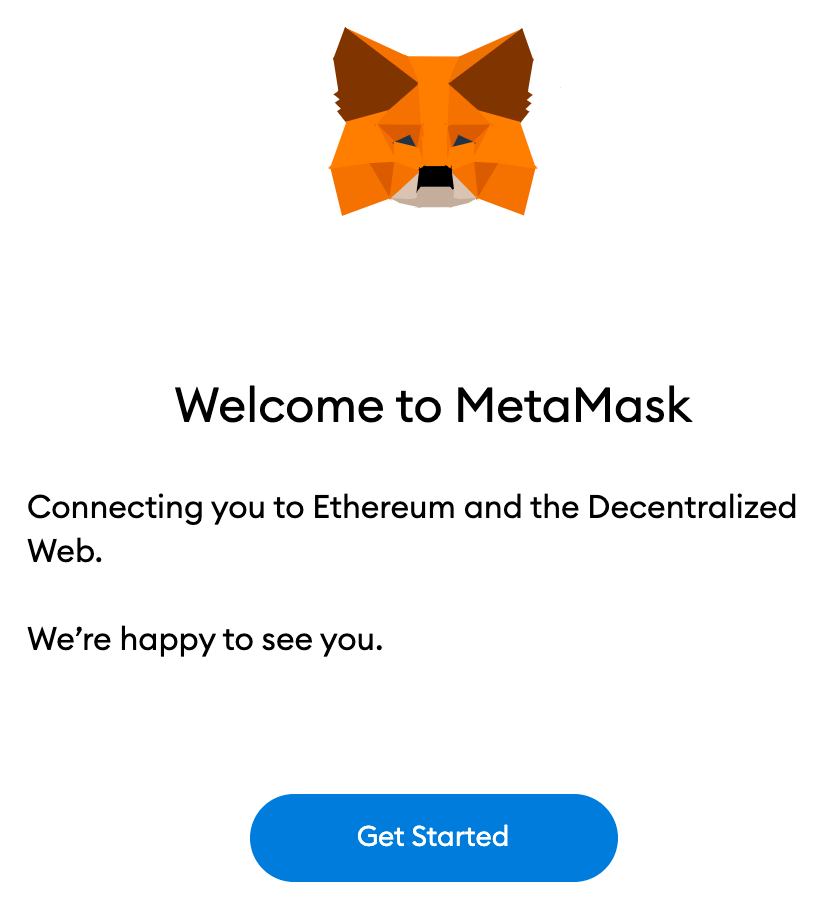
2. Once you have downloaded and installed the extension, click [Get Started] on the MetaMask welcome page.
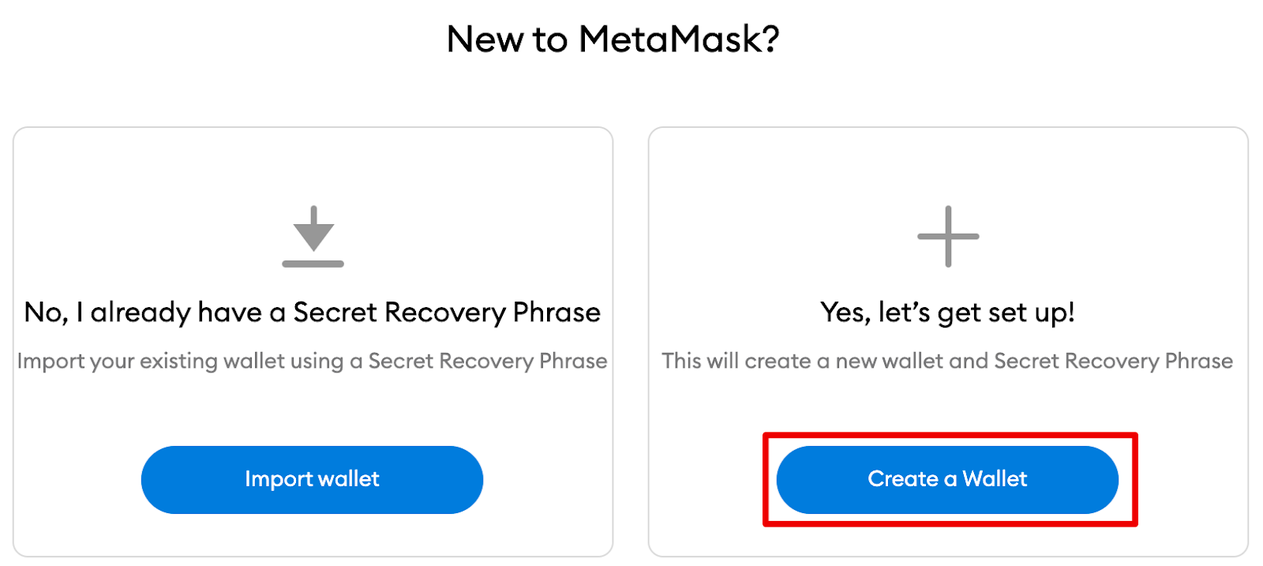
3. For new wallet users, click [Create a Wallet]. If you already have a wallet, you can import it using the seed phrase with the [Import wallet] option.
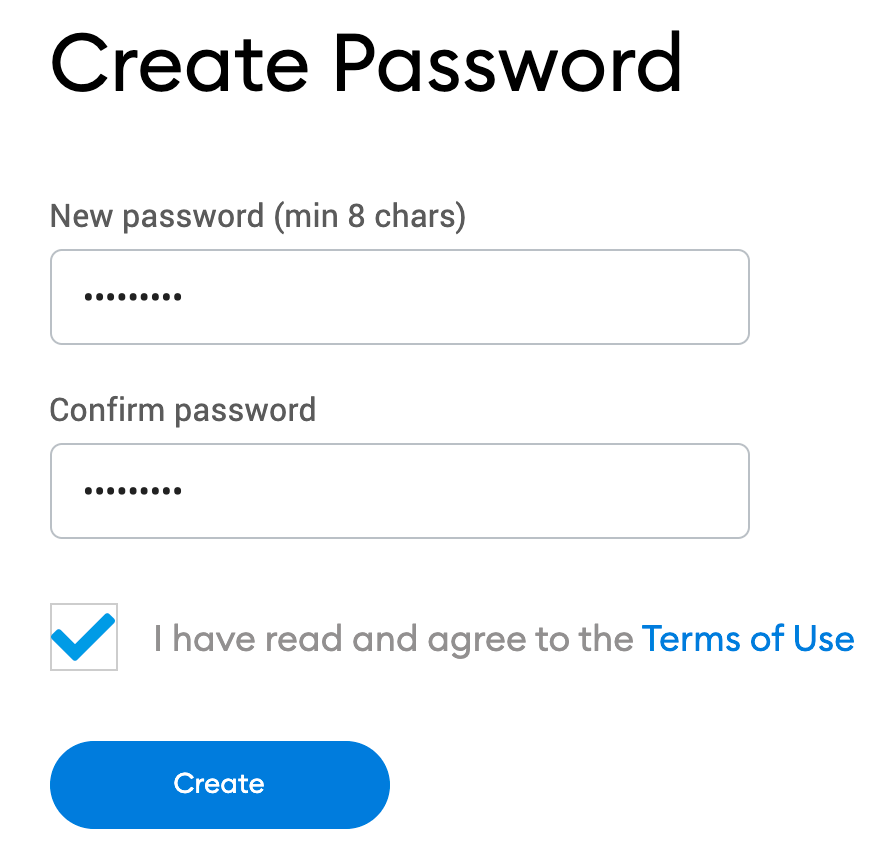
4. Create a secure password. This will be used to log in to your wallet. Note that your password is not your seed phrase. The password safeguards your wallet from anyone using your device. The seed phrase allows you to access your crypto even if you forget your password.
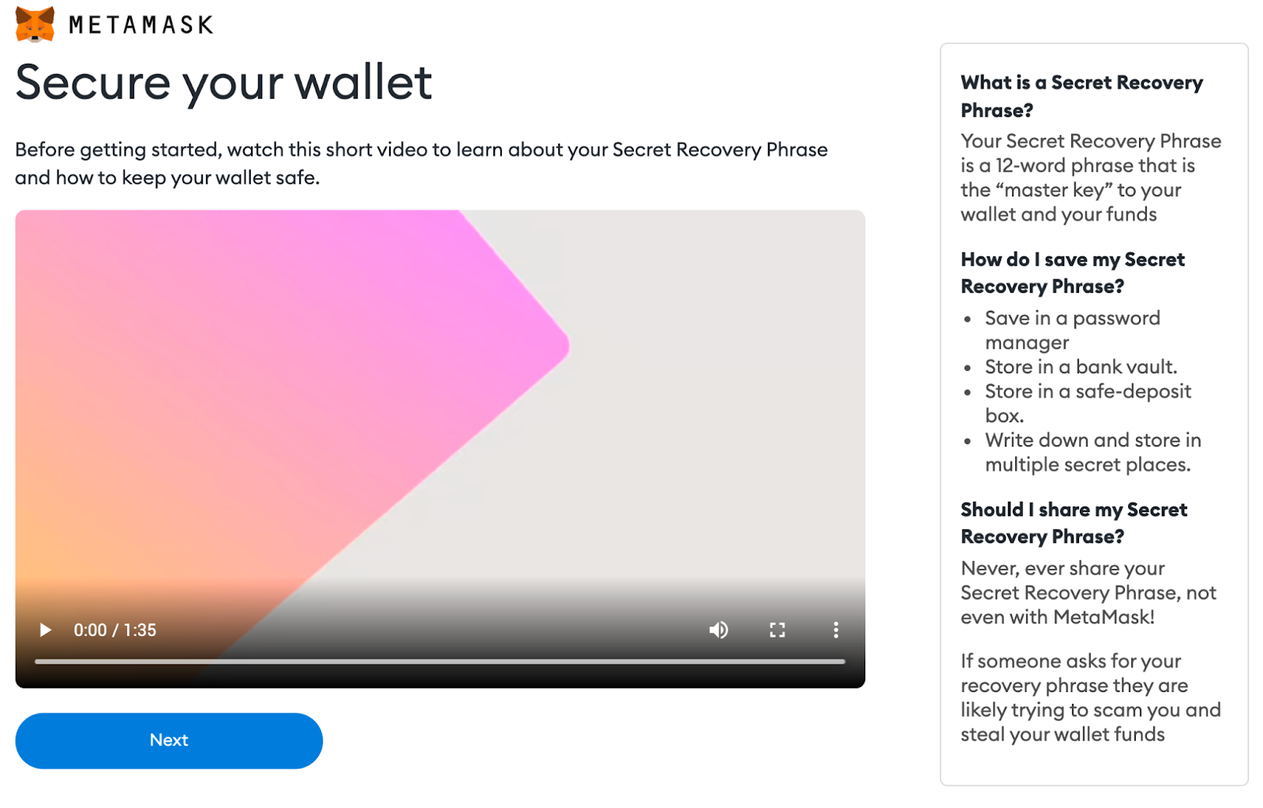
5. Now that you have created your password, MetaMask will provide important information about your seed phrase. If you’re new to crypto wallets, make sure to read through this section and watch the video before continuing.
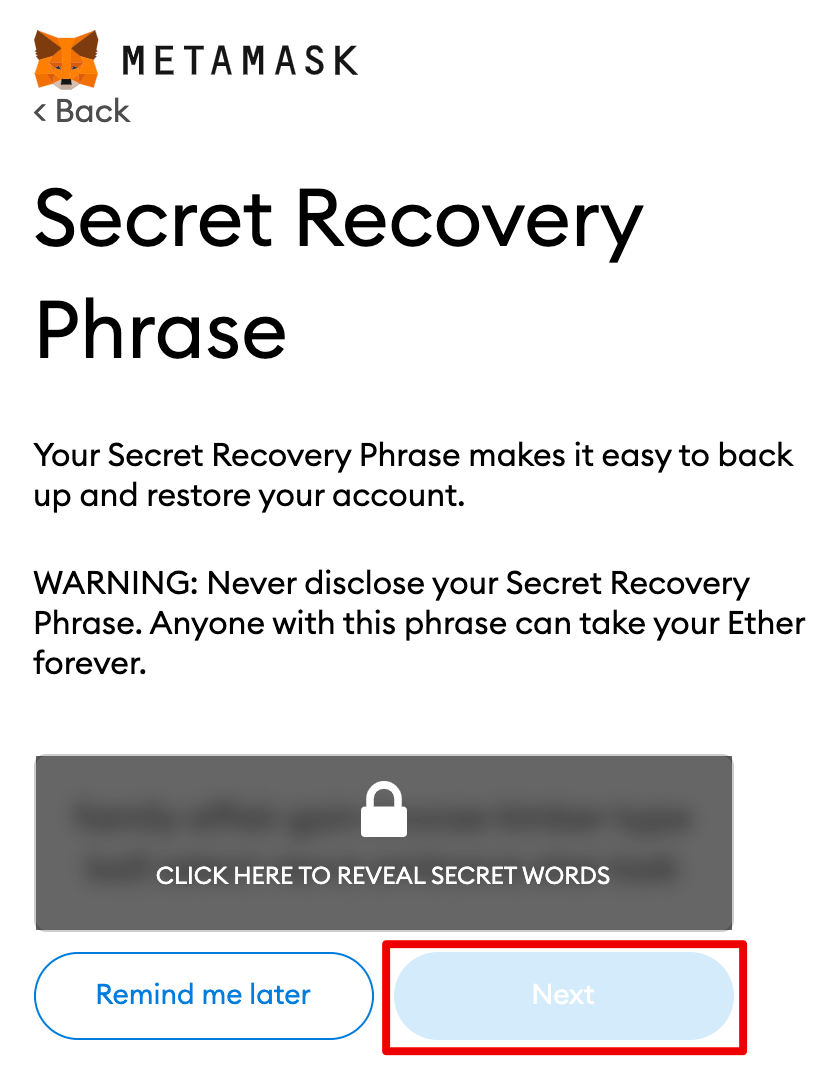
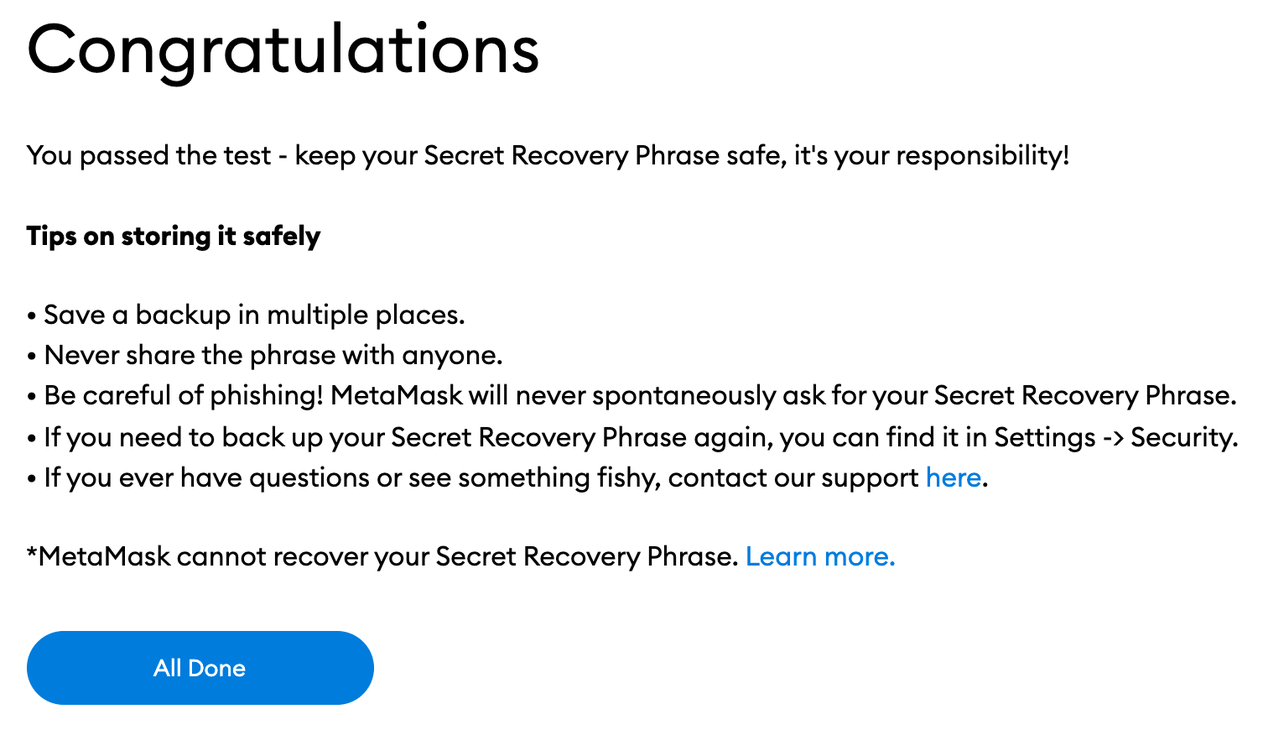
6. Next, click the lock to receive your 12-word seed phrase. Write the words down in the correct order and store them in a safe location (preferably offline). Do not share your seed phrase with anyone. If you lose access, the seed phrase is the last backup to your account. Click [Next] to continue.
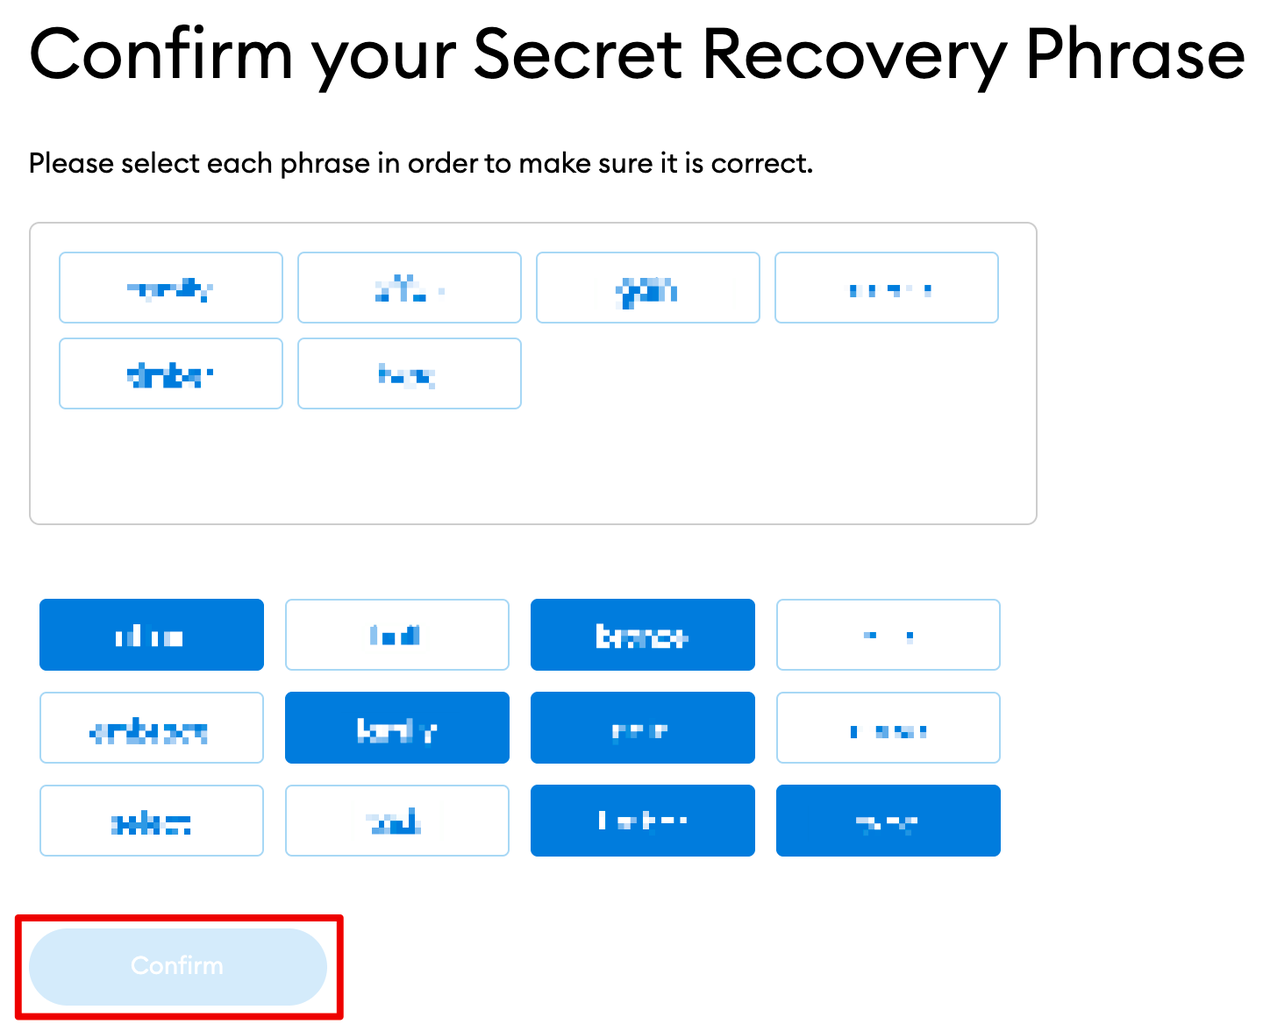
7. Confirm your seed phrase by selecting the words at the bottom of the screen in the right order. Once complete, click [Confirm].
8. You have completed setting up your MetaMask wallet. To start using your wallet, click [All Done].
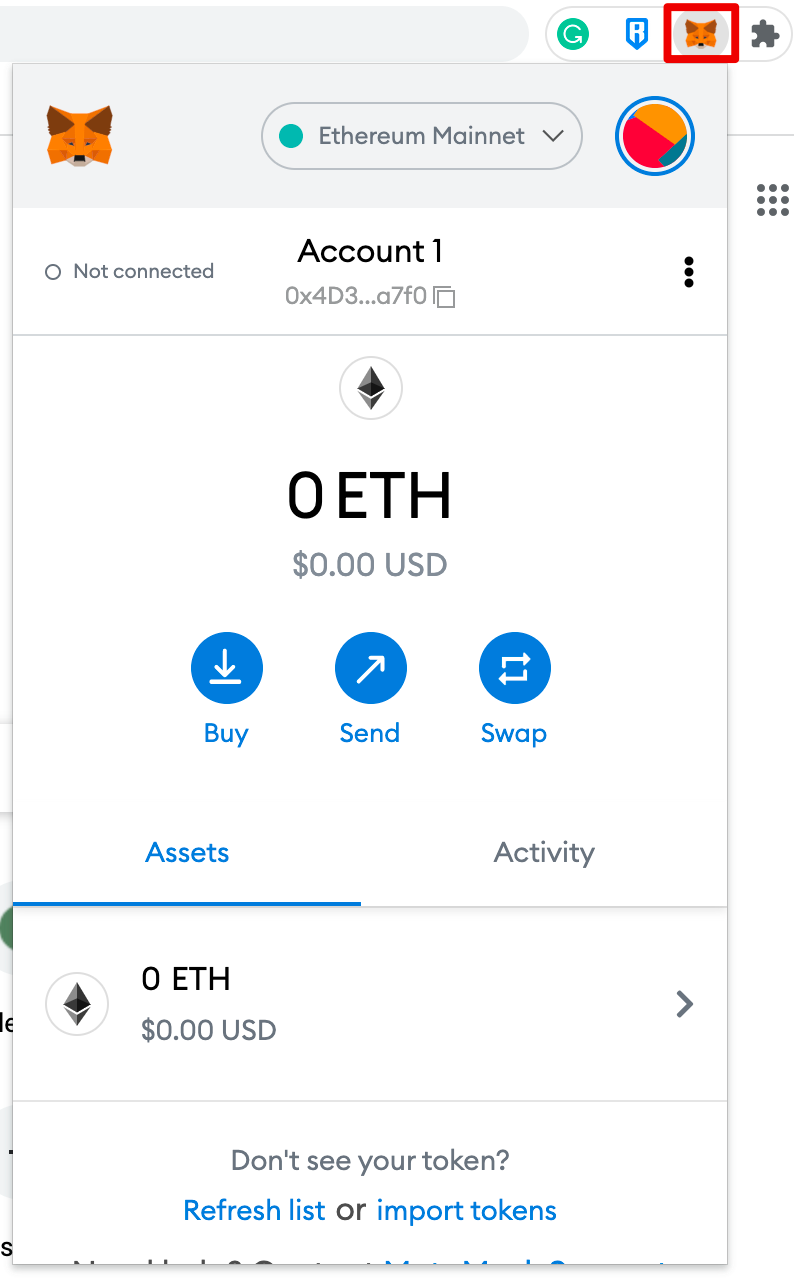
9. For easy access, click the puzzle icon on the Chrome browser to pin MetaMask on your toolbar. By default, Metamask is only connected to Ethereum. In the following section, you will learn how to connect MetaMask to Fantom.
Connecting MetaMask to Aurora
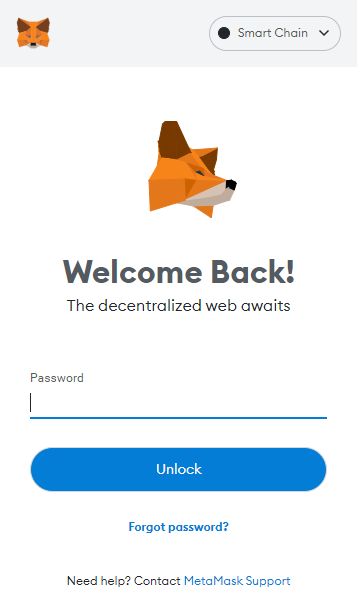
1. Open and log in to your MetaMask wallet.
2. From the account options, which is a circle icon, go to “Settings.”
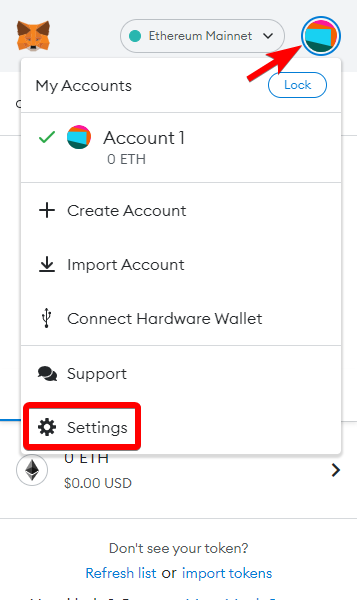
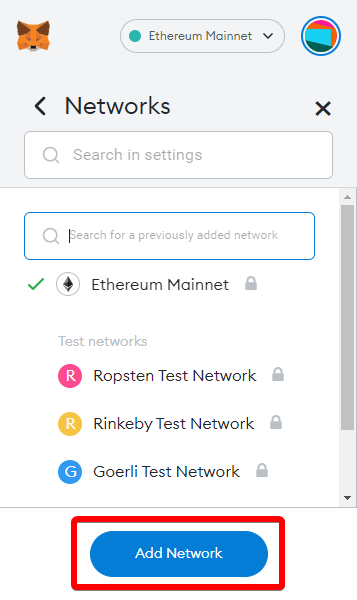
3. Once you are in settings, select “Networks.”

4. Press the “Add Network” button.
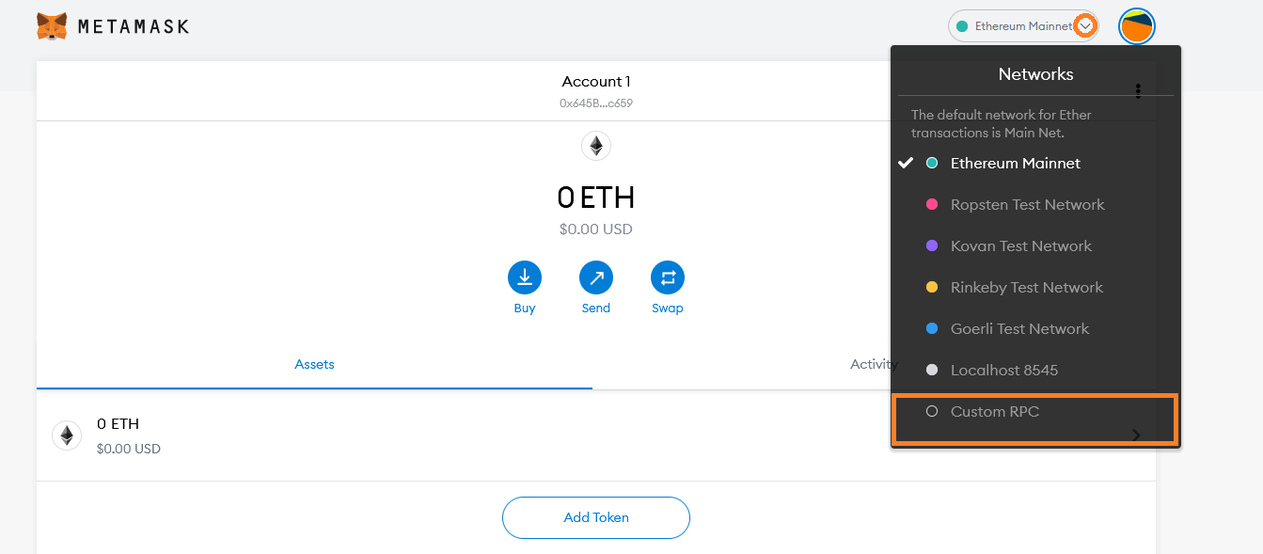
5. You will be taken to a new screen. This is the most important step because this is where you will add the information to connect to Aurora . In the top-right corner of the MetaMask interface, click the network selection drop-down and then click Custom RPC.
Input the following new information and press save:
Network Name: Aurora Testnet
New RPC URL: https://testnet.aurora.dev/
ChainID: 1313161555
Symbol: ETH
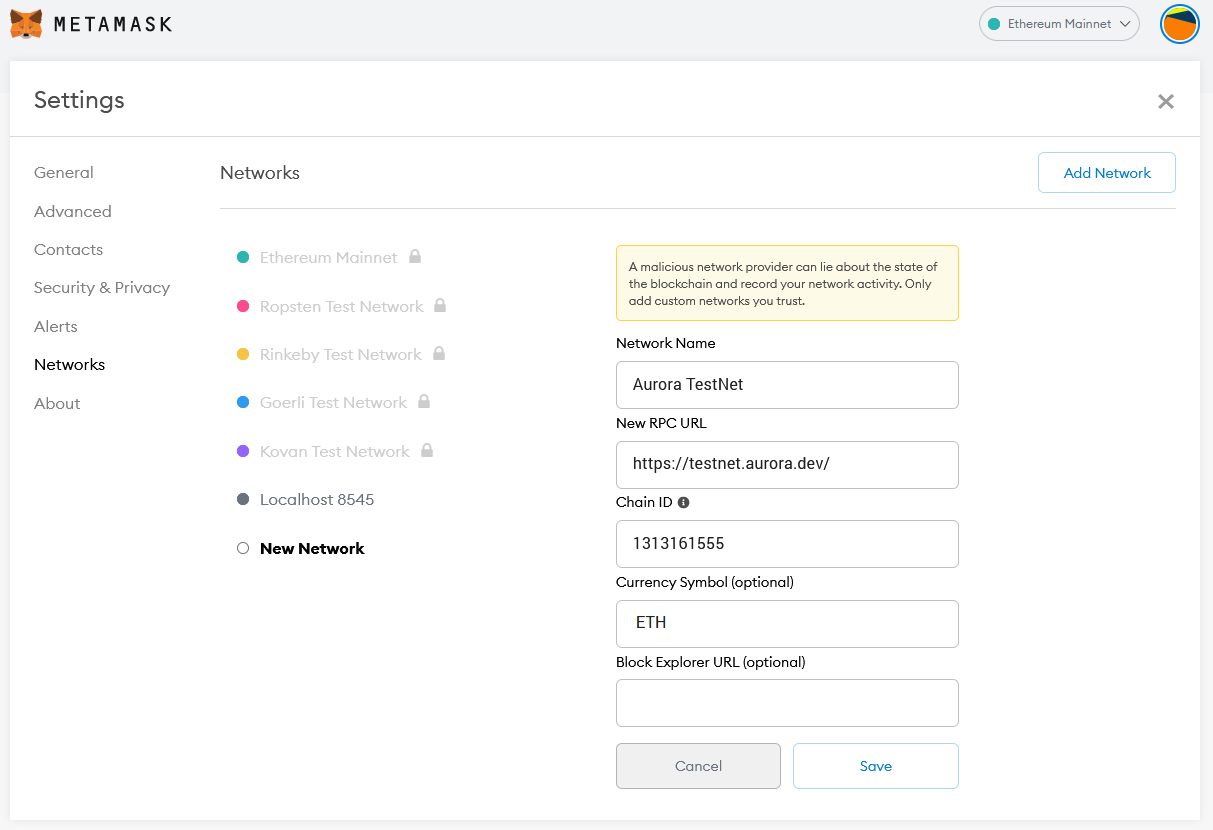
All the Aurora RPC endpoint URLs and chain IDs can be found on our Networks page.
Click Save, and you should see Aurora Testnet is now the network selected in MetaMask.
By this, you complete this workshop successfully!!