
Beginner
How to Connect Cronos to MetaMask?
MetaMask is one of the most widely used and downloaded wallets for keeping digital assets such as cryptocurrencies. If you’re just getting started with a MetaMask wallet, you may not realize that you can connect it with many other blockchains beyond Ethereum. To download the extension, you can visit the official MetaMask website.
MetaMask is extremely versatile and is compatible with most decentralized applications (dapps) and decentralized exchanges (DEXs), including the Binance Smart Chain (BSC). If you want to use MetaMask with the Binance Smart Chain, here’s an easy step-by-step guide to make it simple.
Installing and setting up MetaMask
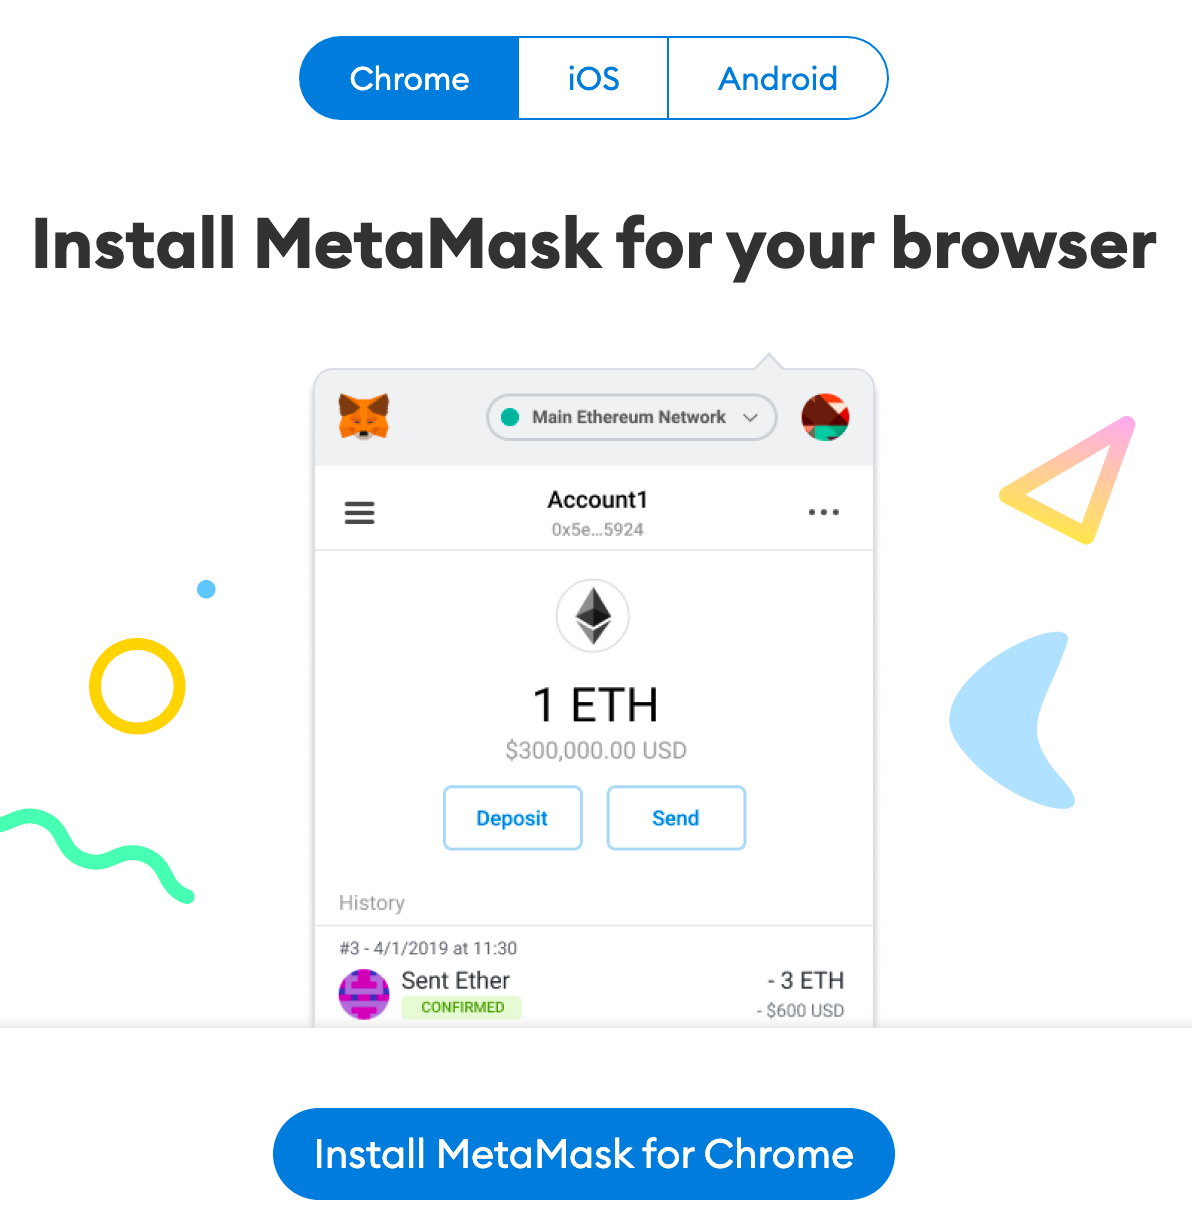
1. Download and install MetaMask on Chrome, iOS, or Android through the MetaMask website. To ensure you download the real version, double-check you are on the official MetaMask website.
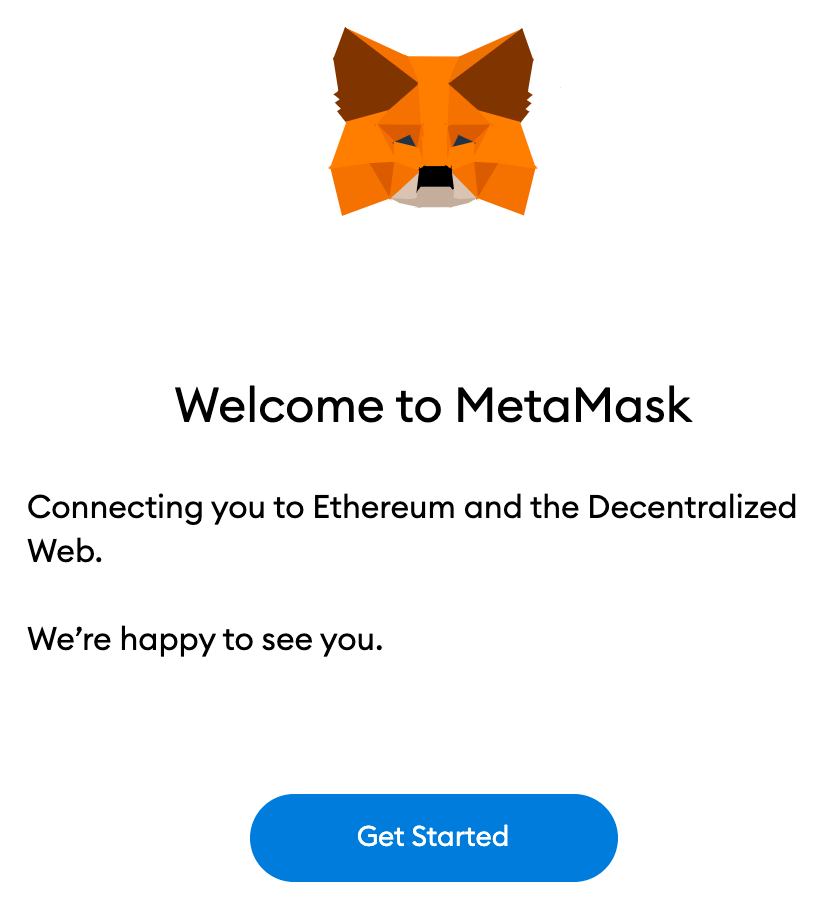
2. Once you have downloaded and installed the extension, click [Get Started] on the MetaMask welcome page.
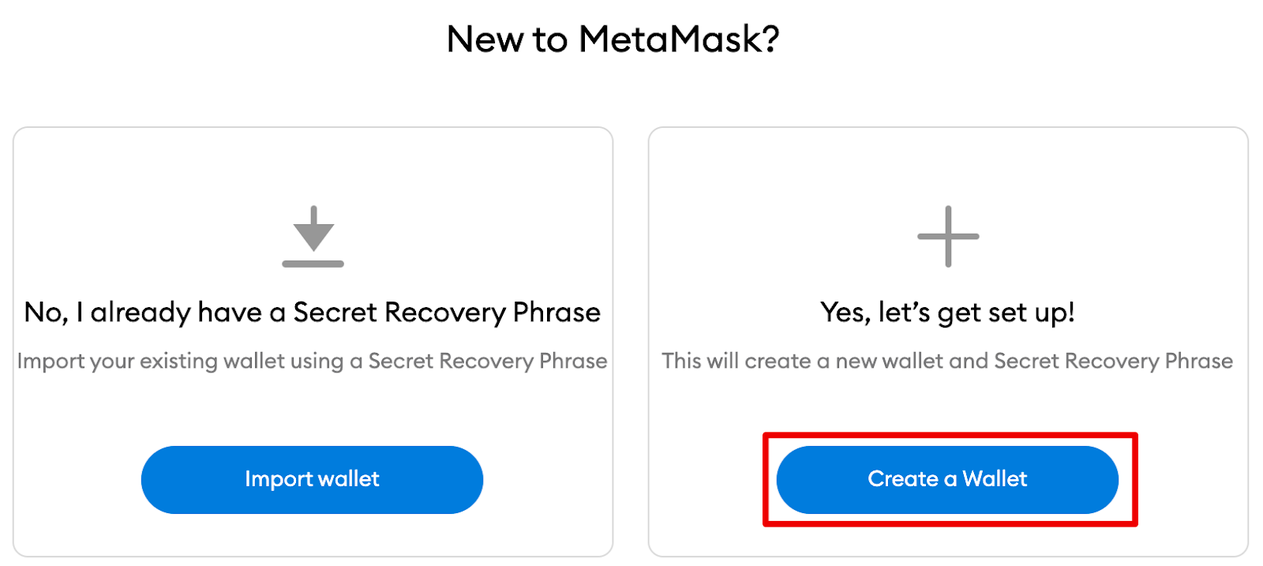
3. For new wallet users, click [Create a Wallet]. If you already have a wallet, you can import it using the seed phrase with the [Import wallet] option.
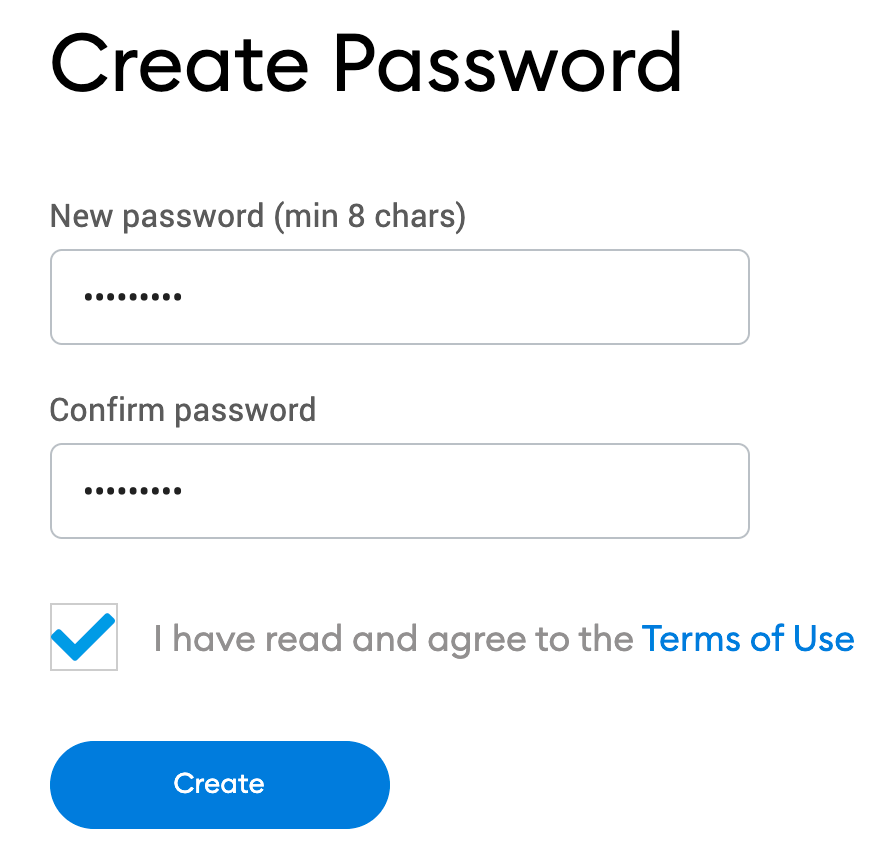
4. Create a secure password. This will be used to log in to your wallet. Note that your password is not your seed phrase. The password safeguards your wallet from anyone using your device. The seed phrase allows you to access your crypto even if you forget your password.
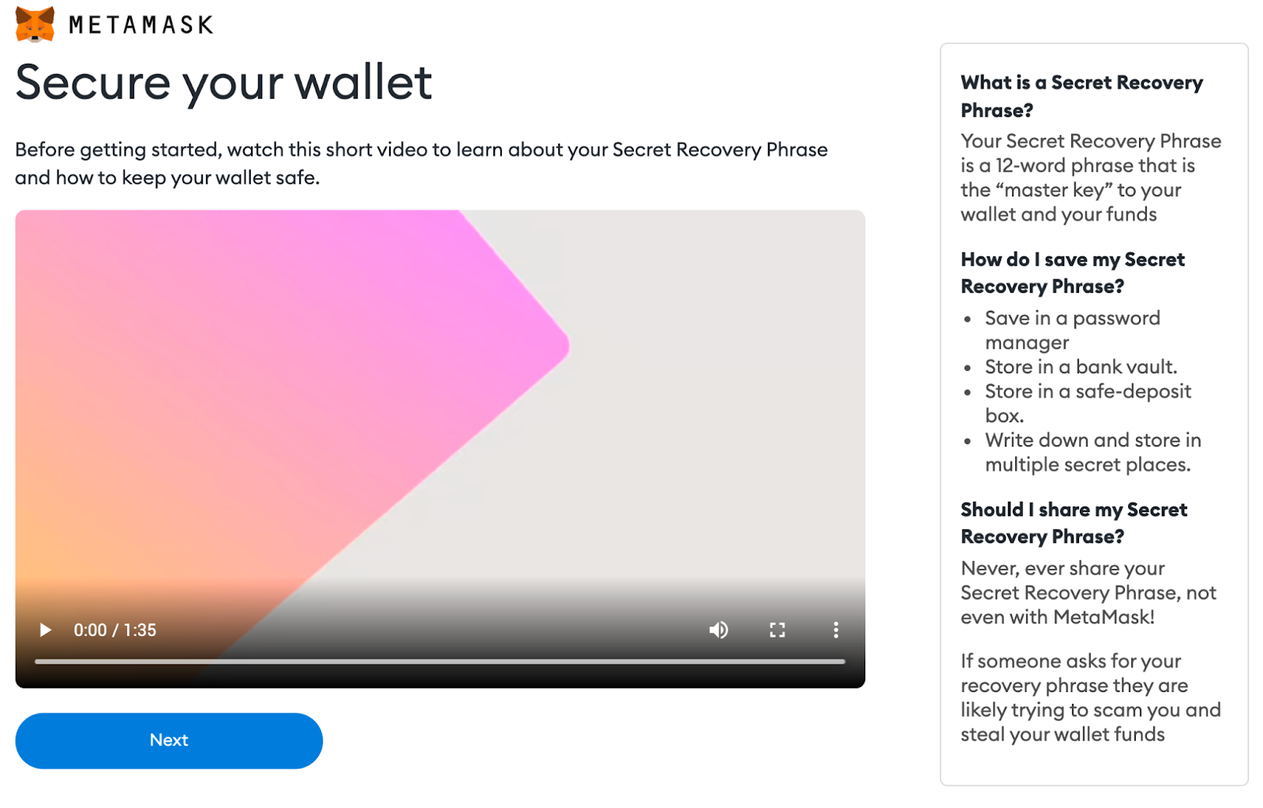
5. Now that you have created your password, MetaMask will provide important information about your seed phrase. If you’re new to crypto wallets, make sure to read through this section and watch the video before continuing.
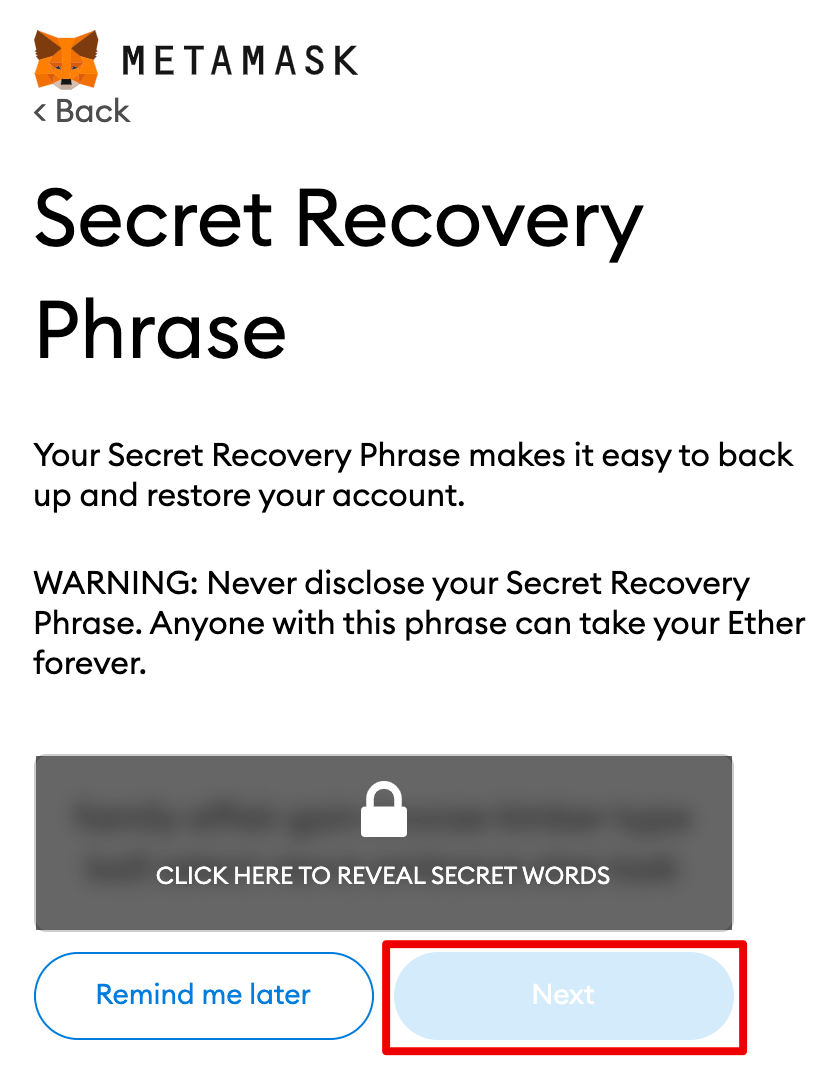
6. Next, click the lock to receive your 12-word seed phrase. Write the words down in the correct order and store them in a safe location (preferably offline). Do not share your seed phrase with anyone. If you lose access, the seed phrase is the last backup to your account. Click [Next] to continue.
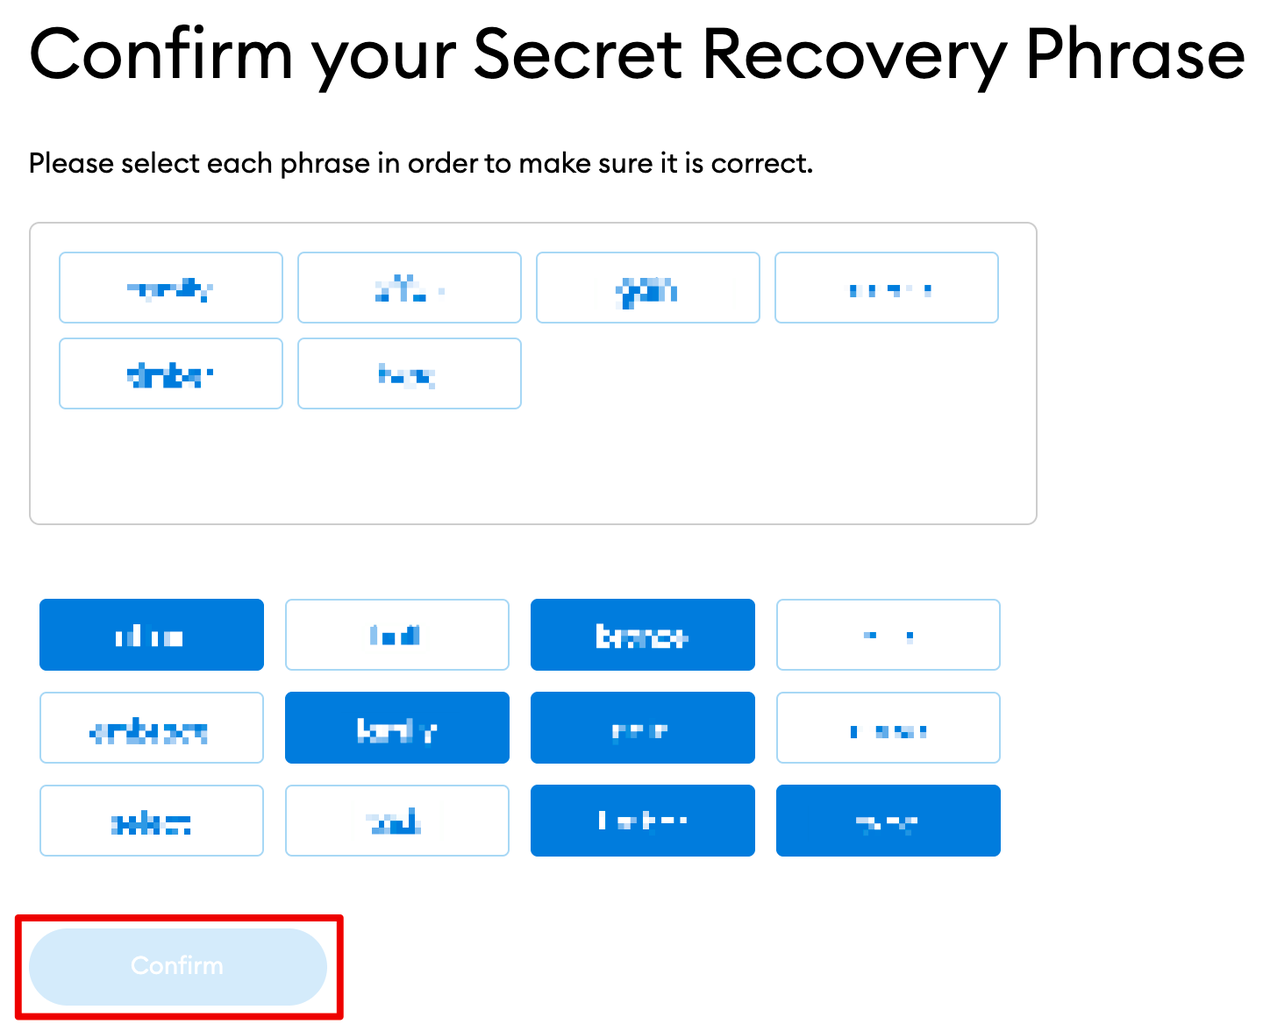
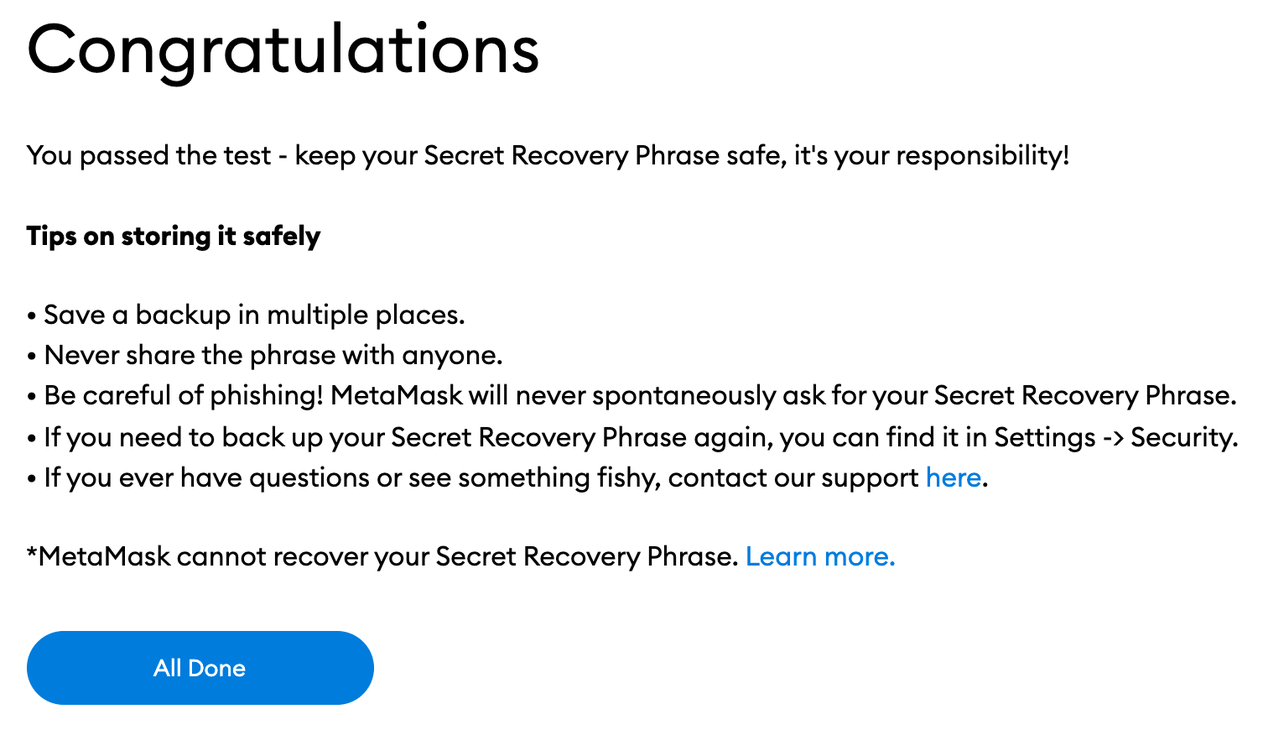
7. Confirm your seed phrase by selecting the words at the bottom of the screen in the right order. Once complete, click [Confirm].
8. You have completed setting up your MetaMask wallet. To start using your wallet, click [All Done].
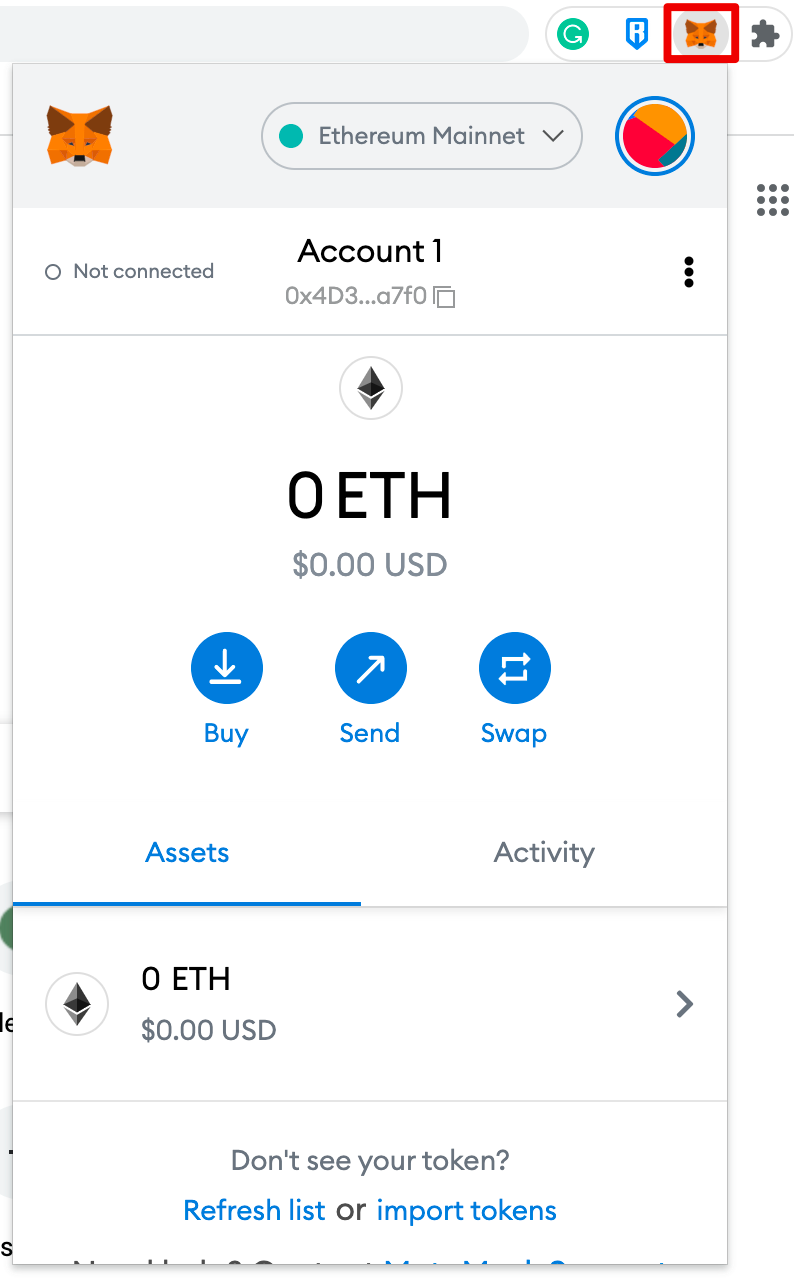
9. For easy access, click the puzzle icon on the Chrome browser to pin MetaMask on your toolbar. By default, Metamask is only connected to Ethereum. In the following section, you will learn how to connect MetaMask to Fantom.
Connecting MetaMask to Cronos
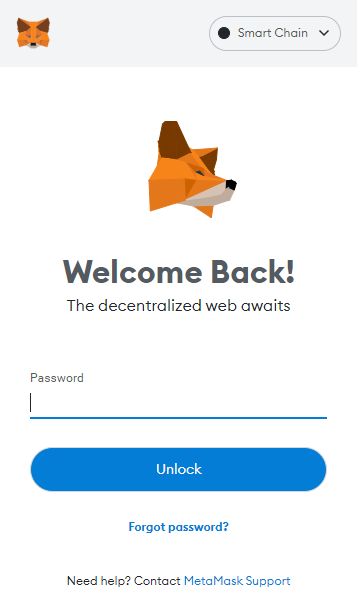
1. Open and log in to your MetaMask wallet.
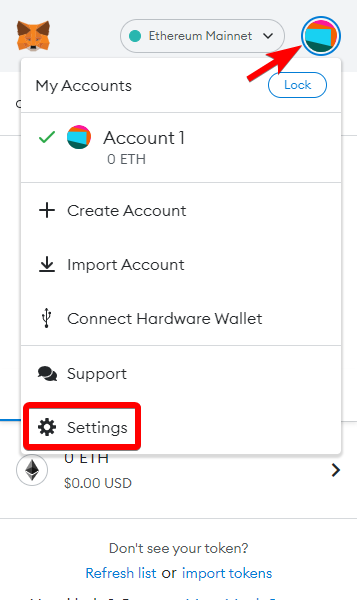
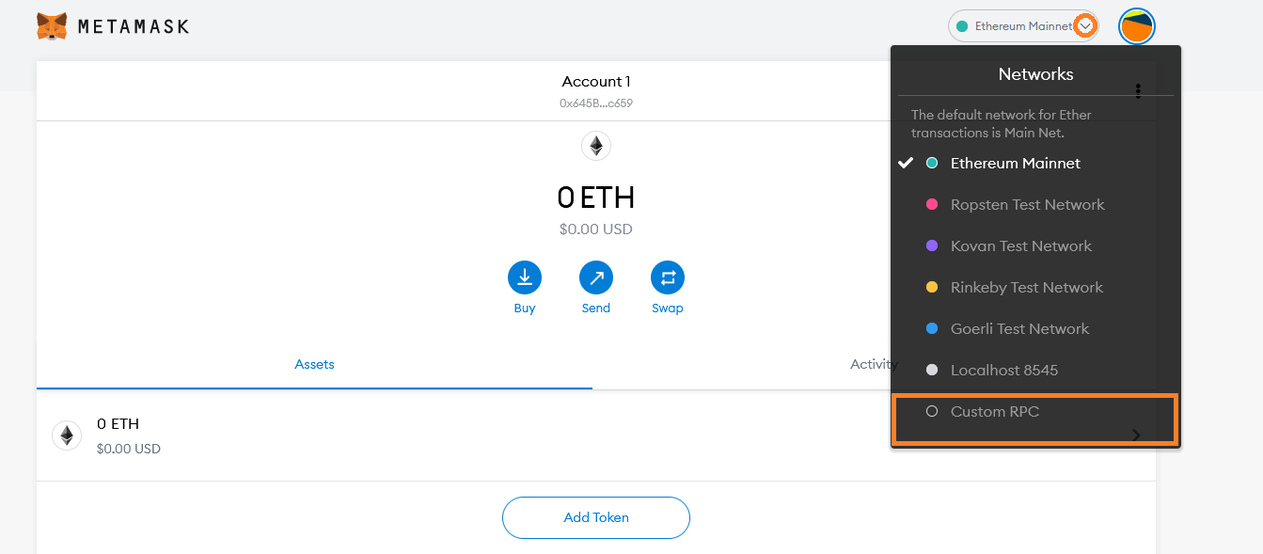
2. From the account options, which is a circle icon, go to “Settings.”
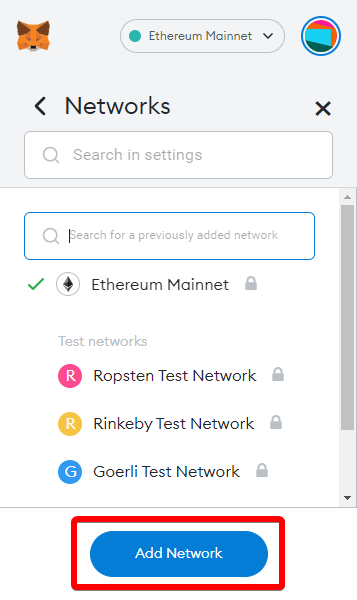
3. Once you are in settings, select “Networks.”

4. Press the “Add Network” button.
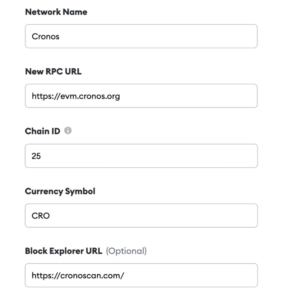
5. You will be taken to a new screen. This is the most important step because this is where you will add the information to connect to Cronos.
Input the following new information and press save:
Mainnet
-
Name: Cronos
-
New RPC URL:
https://evm.cronos.org; -
Chain ID: 25
-
Symbol:
CRO -
Block explorer URL:
https://cronoscan.com/
Testnet
-
Name: Cronos testnet
-
New RPC URL:
https://evm-t3.cronos.orgfor -
Chain ID:
338 -
Symbol:
tCRO -
Block explorer URL:
https://testnet.cronoscan.com/
Gravity Bridge
-
Name: Pioneer 11
-
New RPC URL:
https://evm-p11.cronos.org -
Chain ID:
340 -
Symbol:
tCRO -
Block explorer URL:
https://cronos.org/explorer/pioneer11
After saving the network configuration, we should be able to see the token in your address.
Importing private keys to MetaMask
Alternatively, We can export the private keys by using the unsafe-export-eth-key command with cronosd. For example:
cronosd keys unsafe-export-eth-key mykey –keyring-backend test
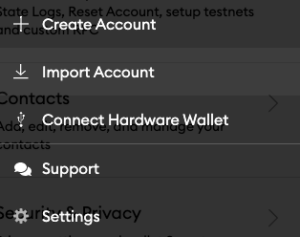
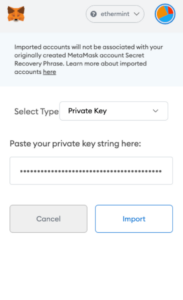
It will show your private key and you can copy it for the next step. Click the “My Account” button at the top right corner again. Then, select “Import Account“:
Paste your private key string from the previous step and click “Import”.
Once it has been connected, you should see your token balance and you can then begin performing transactions using your MetaMask wallet!
Address conventions
Please note that the address format in Cronos is in there form of bech32 crc... , we can use cronosd debug addr to convert an address between hex and bech32. For example:
$ cronosd keys list --keyring-backend test
  - name: mykey
    type: local
    address: crc19a6r74dvfxjyvjzf3pg9y3y5rhk6rds2c9265n
    pubkey: '{"@type":"/ethermint.crypto.v1alpha1.ethsecp256k1.PubKey","key":"Azy1tg0wZKRdQ7sd9mICzteCstGThiodZtQqlVT9Amlc"}'
    mnemonic: ""

$ cronosd debug addr crc19a6r74dvfxjyvjzf3pg9y3y5rhk6rds2c9265n
    Address: [47 116 63 85 172 73 164 70 72 73 136 80 82 68 148 29 237 161 182 10]
    Address (hex): 2F743F55AC49A446484988505244941DEDA1B60A
    Bech32 Acc: crc19a6r74dvfxjyvjzf3pg9y3y5rhk6rds2c9265n
    Bech32 Val: crcvaloper19a6r74dvfxjyvjzf3pg9y3y5rhk6rds2ph398y

$ cronosd debug addr 2F743F55AC49A446484988505244941DEDA1B60A
  Address: [47 116 63 85 172 73 164 70 72 73 136 80 82 68 148 29 237 161 182 10]
  Address (hex): 2F743F55AC49A446484988505244941DEDA1B60A
  Bech32 Acc: crc19a6r74dvfxjyvjzf3pg9y3y5rhk6rds2c9265n
  Bech32 Val: crcvaloper19a6r74dvfxjyvjzf3pg9y3y5rhk6rds2ph398y
Remarks: You will need to add 0x at the beginning when using the Ethereum HEX address shown as above. For example: Address (hex): 2F743F55AC49A446484988505244941DEDA1B60A implies that 0x2F743F55AC49A446484988505244941DEDA1B60A will be the address in Ethereum.
Resetting your account on MetaMask
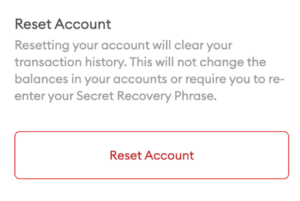
If you come across any issue with your MetaMask account or if you have used your imported account to perform transactions in the legacy testnet, you can reset it by using the Reset Account function.
Simply go to Setting/Advance and click Reset Account:
By this, you complete this workshop successfully!!
