

Beginner
How to create a Polygon account on MetaMask Wallet
In this tutorial, we will guide you through the process of creating an account on the Polygon network as a beginner. We will be using the open-source and trusted Metamask wallet to create the account. We will also show you how to configure the Polygon network on your Metamask wallet so that you can view the flow of funds in your accounts. Follow the steps in this tutorial to create your account and add the Polygon network to your Metamask wallet.
Step 1. Create a wallet
- Choose a wallet: There are different types of wallets available, so you will need to choose one that meets your needs. For this tutorial, we will be using the open-source and trusted Metamask wallet.
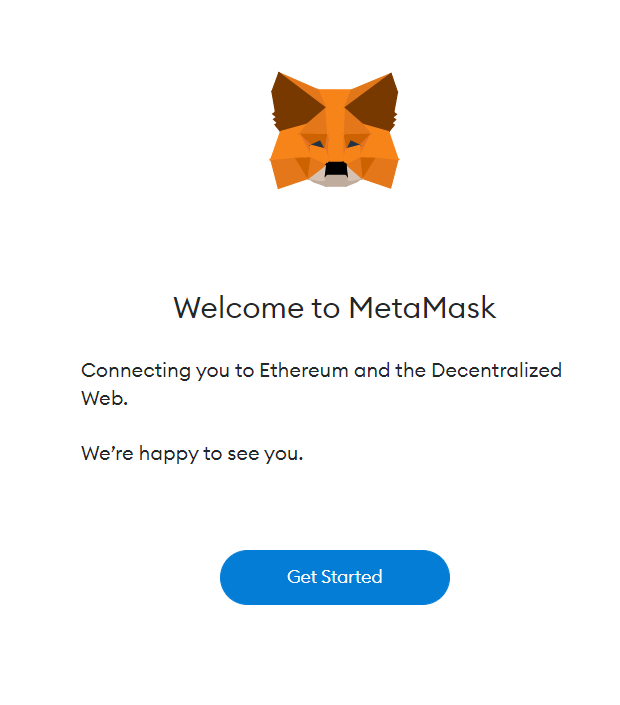
- Download and install the wallet: Visit the Metamask website at The crypto wallet for Defi, Web3 Dapps and NFTs | MetaMask and find the button to download the wallet for your particular browser. Once the installation is successful, open the wallet.
3. Agree to the conditions: When you open the wallet, you will be prompted to agree to the conditions. Click on the button to accept.
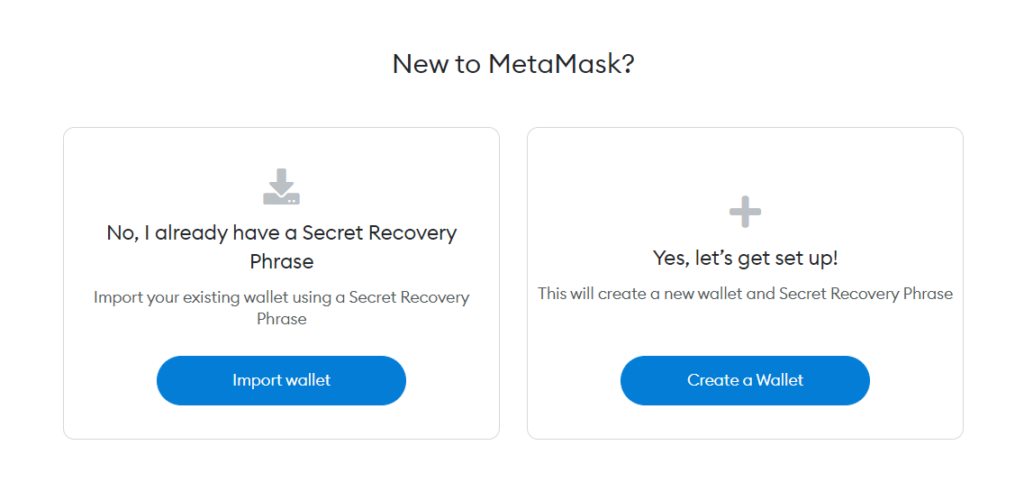
4. Create a new wallet: You will see a screen with the option to create a new wallet. Select this option and create a new password.
5. Watch the security video: A video will appear on your screen to guide you through the process of securing your wallet and familiarizing yourself with the security features.
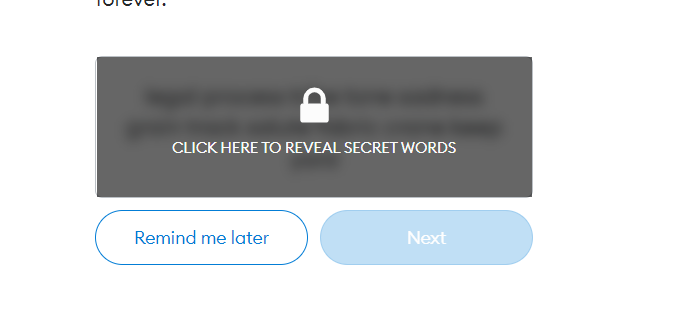
6. Reveal a secret recovery phrase: You will be prompted to reveal a secret recovery phrase. Click the lock button and write down the words that appear, as this will be your only way to recover your account if something happens and you lose access.
7. Verify your key: After completing the secret recovery phase, you will be taken to a verification screen. Follow the prompts to verify your key
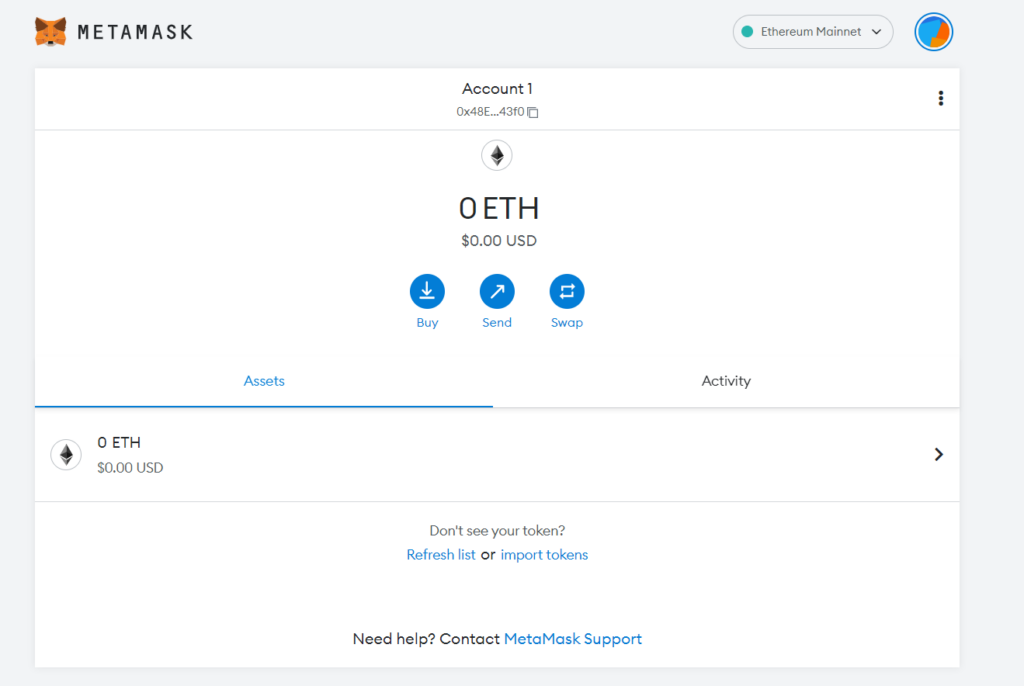
Your account is now set up: Once you have successfully verified your key, your account is now set up and ready to use.
Step 2. Add Polygon Network
In order to view the flow of funds in your accounts, on the Polygon Network, you will need to configure Polygon {testnet, mainnet} URL on Metamask.
There are two ways to do it:
Using Polygonscan
NOTE
Please make sure you have already installed Metamask!
-
Polygon-Mainnet
-
Mumbai-Testnet
Please follow the steps to add Polygon’s Mainnet:
-
Navigate to polygonscan.com
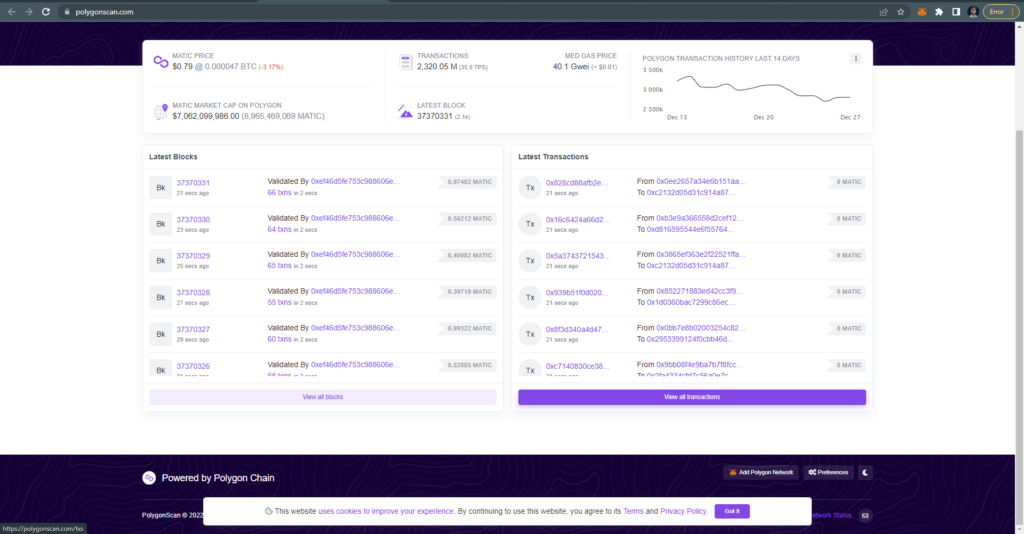
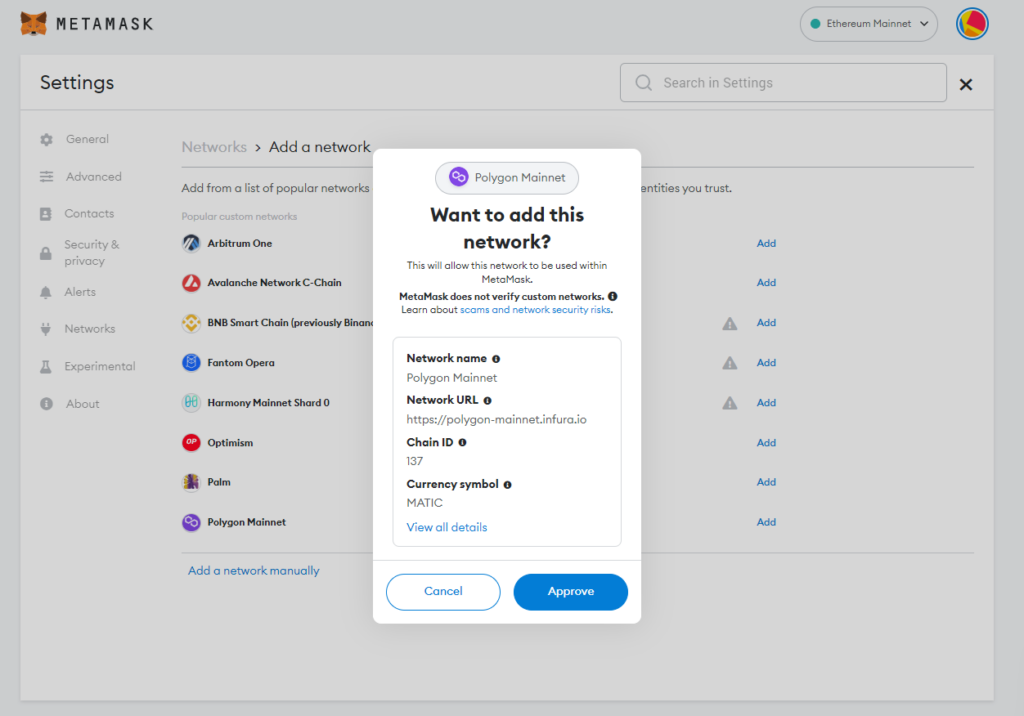
Scroll down to the bottom of the page and click on the button Add Polygon Network
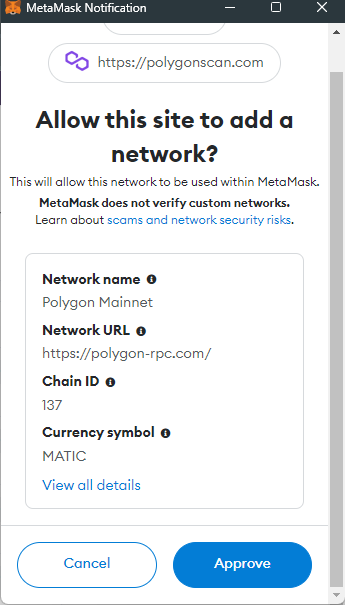
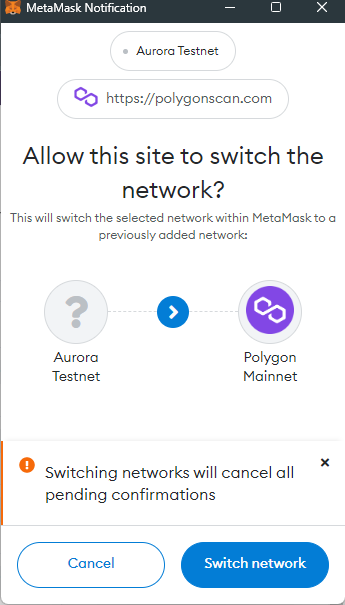
Once you click the button you will see a Metamask Notification, now click on Approve. You will be directly switched to Polygon’s Mainnet now in the network dropdown list. You can now close the dialog.
If you are facing any issue, Add the Network Manually(steps given below)
Add the Polygon network manually
Polygon-Mainnet
Mumbai-Testnet
To add Polygon’s Mainnet, click on the Network selection dropdown and then click on Add a network.
Click on Add on listed Polygon mainnet
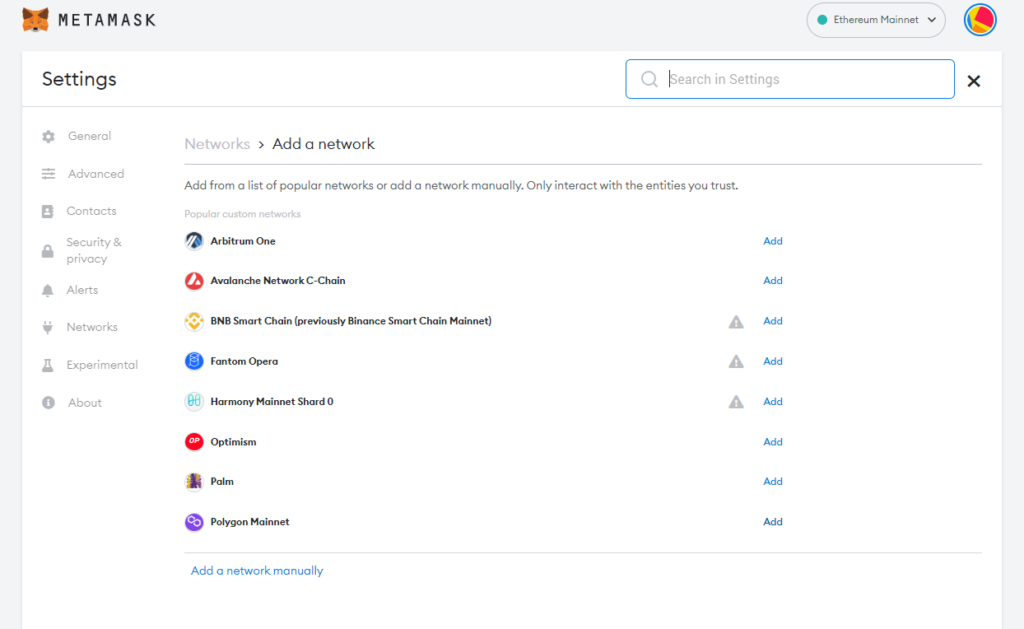
If you want to add manually click on Add a network manually
It will open up a form with 2 tabs on the top, Settings and Info. In the Settings tab you can add Polygon Mainnet in the Network Name field, URL https://polygon-rpc.com/ in the New RPC URL field, 137 in Chain ID field, MATIC in Currency Symbol field and https://polygonscan.com/ in Block Explorer URL field.
Once you’ve added the information click on Save. You will be directly switched to Polygon’s Mainnet now in the network dropdown list.
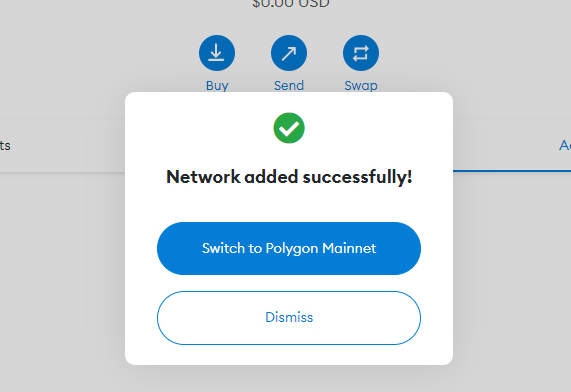
You can now close the dialog.
You have successfully added Polygon Network to your Metamask!