
Beginner
How to Setup a Polkadot Wallet
This tutorial outlines the steps to set up a Polkadot wallet using the popular Polkadot.js wallet. The process involves 5 simple steps: visiting the official Polkadot website, choosing and downloading an extension (such as Trust Wallet, Ledger Live, or Metamask), opening the browser extension and adding an account, connecting the wallet to the website, and finally sending and receiving DOT tokens. The tutorial also provides a brief overview of the Polkadot network and its features, as well as a description of what a Polkadot wallet is and its purpose. The tutorial includes a section on how to transfer DOTs from an exchange to your Polkadot wallet.
If you’re interested in investing in the Polkadot ecosystem, setting up a wallet is a crucial first step. This guide will give you an overview and then outline the 5 simple steps to setting up a Polkadot wallet.
What is Polkadot?
Polkadot was created by the Web3 visionary, Dr. Gavin Wood. It is a decentralized network made up of many parachains, which are customizable blockchains for running decentralized applications and smart contracts. The Polkadot ecosystem is unique in that it allows for horizontal scaling of blockchains. To use Polkadot, you must create a wallet.
What is a Polkadot Wallet?
A Polkadot wallet is a digital tool for storing your DOTs. You can use it to sign transactions and make payments on the Polkadot network. Setting up a Polkadot wallet is quick and straightforward.
How to Setup a Polkadot Wallet
There are many Polkadot wallet options in the Polkadot ecosystem but this article will focus on our popular polkadot.js wallet. Alternative wallets include imtoken, trustwallet, tokenpocket, coolwallet, safepal, Ledger Nano X, atomic wallet and more. Below are the exact 5 steps to create a polkadot.js wallet:
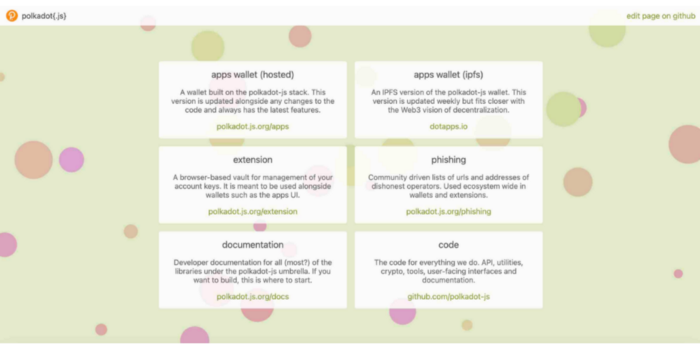
Step 1: Go to the Polkadot.js
This is the first step toward setting up your Polkadot wallet. Ensure that you’re visiting the official Polkadot website and not any other websites.
Step 2: Choose and download an extension
The next step is choosing and downloading an extension on the Polkadot website. There are many different options available, so be sure to do your research before deciding. Some popular options include Trust Wallet, Ledger Live and Metamask (just for EVM compatible Polkadot chains).
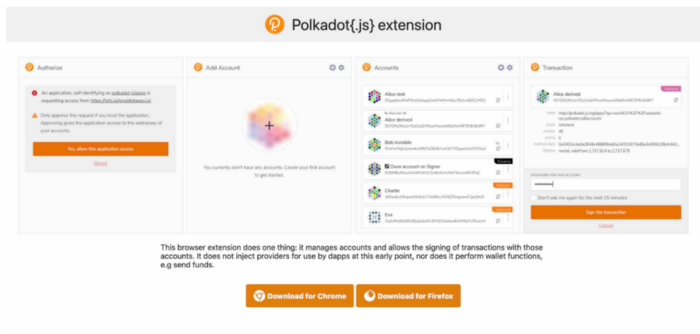
Once you’ve chosen an extension, download it and follow the instructions to create a wallet. This process will vary depending on which extension you choose but should be relatively straightforward.
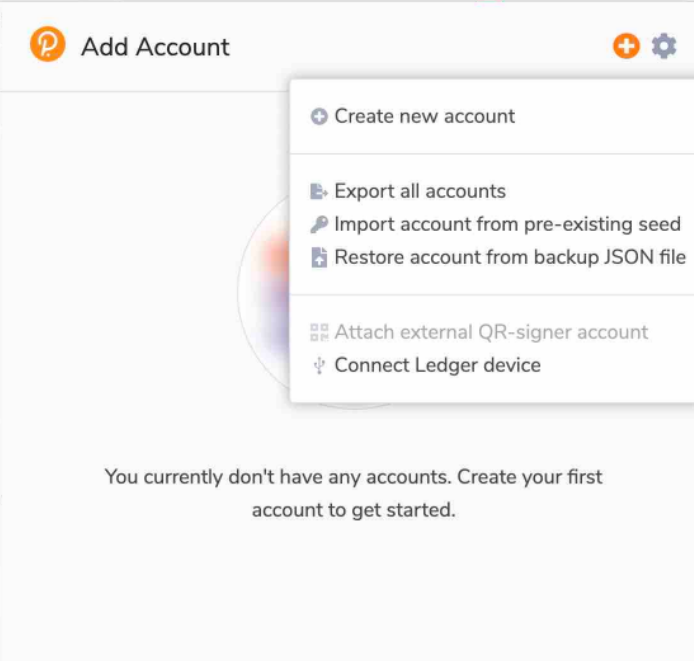
Step 3: Open your browser extension and add an account
The first thing you need to do is open your browser extension and click on the “Add Account” button. A new window will pop up, and you will need to enter your account information. Once you have entered your account information, click on the “Create Account” button.
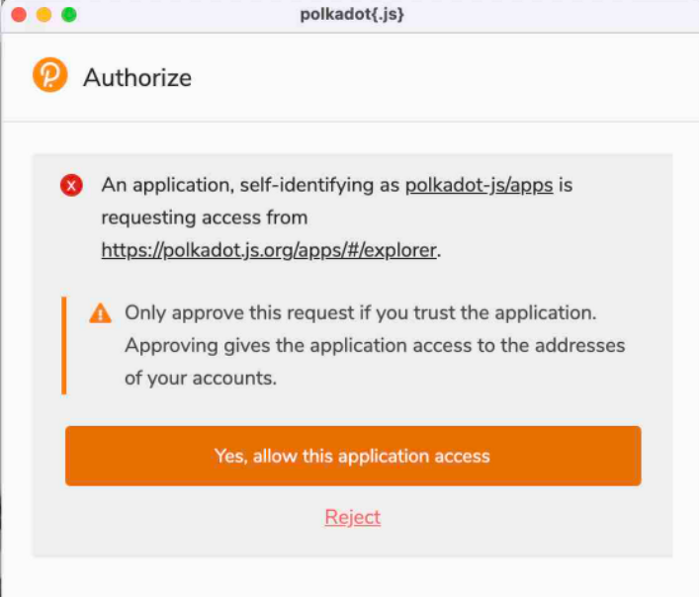
Step 4: Go to the polkadot{.js} and click “Apps Wallet Hosted”
To connect your Wallet with the page, you’ll need to permit it. Always double-check the URL and pay attention to the details if it’s correct.
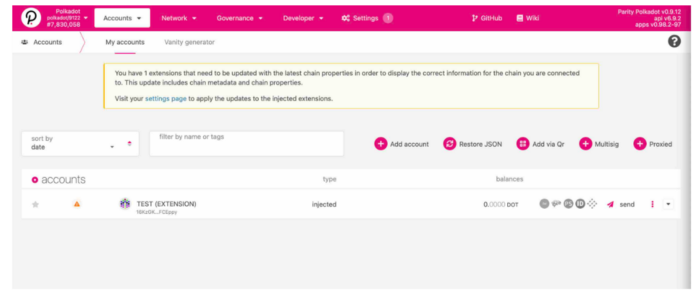
Click “Allow,” and you’ll be able to see your accounts. If it’s your first time, there are no accounts yet. Click “Create Account” to make your first account.
You’ll be asked to give your account a name. You can name it whatever you want. After that, you’ll be asked to set a password. Make sure to choose a strong password that you won’t forget. Once you’ve set a password, you’ll be able to see your account’s address. Copy this down somewhere safe because you’ll need it to receive DOT tokens.
You’ve now created your first account, congrats! We’ll show you how to add DOTs to your account in the next step.
Step 5: Send and receive tokens
You should now see your account information with no DOT on it. To receive DOT, you must share your address with the sender. Your account address is the long string of numbers and letters below your account name. Also note that Polkadot has an Existential Deposit requirement. Meaning if you have less than 1 DOT on your address, your account gets reaped and you lose all funds.
To share your account address, click the copy button to its right. You should be able to copy your address and then paste it into a chat or email. When you want to receive DOT, paste your address into the appropriate field on the sender’s end.
Instead of sending money to a wallet address, you should verify that the network is correct. You can do so in your extension by clicking the three dots next to the wallet address in the dropdown menu. Sending and receiving DOT is straightforward, but you have to consider a few important things.
Remember, when sending DOT you must have enough DOT in your account to cover the amount you want to send plus the transaction fees. Also remember to note that when sending DOT be sure to check the accuracy of the recipient’s address before sending. If you send to the wrong address, your DOT could be lost forever.
Transferring DOT to Your Wallet
Transferring DOT to your wallet is a straightforward process. This section will show you how to move DOTs to your wallet step by step. We’ll use Binance for this example, but the process is similar, regardless of the exchange platform you’ll be using, so let’s get rolling.
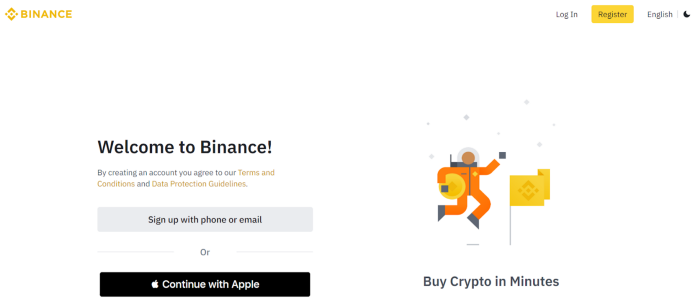
Step 1: Sign in to your Binance account
The first thing you need to do is sign in to your Binance account. If you don’t have one, you can create one here.
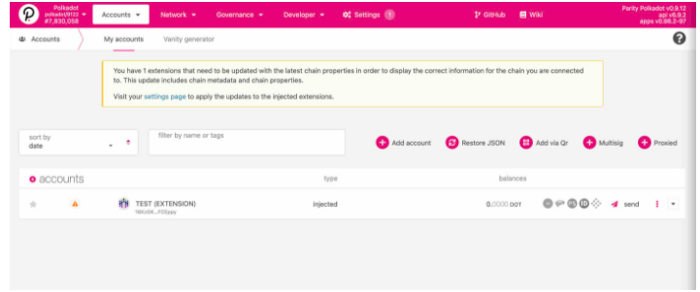
Step 2: Find your Polkadot address from Polkadot.js
Go to https://www.polkadotjs.org/apps/. Link the program with your extension. Select the icon next to your Account name where you want to move your money.
You should now have the address of your account on your clipboard. Always double-check that you’ve selected the correct Network option — in this case, “Case Polkadot Relay Chain.”
Step 3: Transfer DOT to your Polkadot.js wallet
Select the DOT Token and carefully look into your options for withdrawing. If you’re making a large transfer for the first time, it’s probably best to make a smaller one first to test.
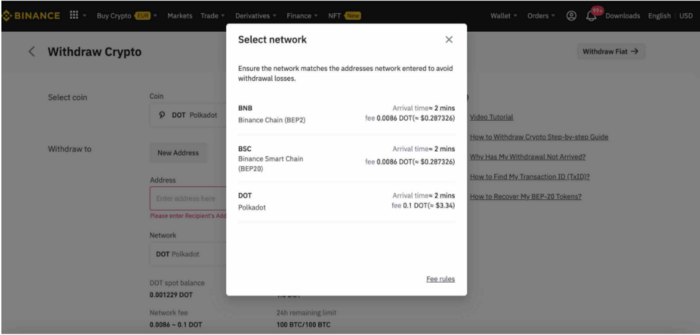
Go to your Wallet, enter the Polkadot Relay Chain Address, verify that you’re happy with Binance’s transaction fees, and send if everything is correct. Your DOTs should arrive in your wallet in a few minutes. Repeat for larger amounts if you were testing it out.