

Intermediate
How to start and interact with your first decentralized app (dApp) in NEAR
This tutorial is a step-by-step guide for beginners on how to start and interact with a decentralized app (dApp) in NEAR. It introduces the Hello NEAR dApp, which is a simple app with a smart contract that stores and retrieves a greeting message, and a frontend that displays the greeting and allows users to change it. The tutorial provides instructions on how to try the app in a browser and locally, and how to interact with it once it’s running. It also explains the structure of a dApp, with a focus on the contract and frontend components, and provides examples of unit and integration tests for the contract. The tutorial is written in a beginner-friendly style and includes code snippets and links to the full example on GitHub.
Hello NEAR is a friendly dApp composed by two main components:
-
A smart contract that stores and retrieves a greeting message
-
A simple web-based frontend that displays the greeting and enables to change it.
Try Hello NEAR in Your Browser
A new browser window will open automatically with the code, give it a minute and the frontend will pop-up (make sure the pop-up window is not blocked).
Try Hello NEAR Locally
If you already have node installed, simply run:
npx create-near-app@latest
Use the interactive menu to set up your first project folder.
Once the folder is ready, check the README! It will show you how to build your contract, deploy it, and start the frontend.
Interacting With Hello NEAR
Once the app starts you will see the screen below. Now go ahead and sign in with your NEAR account. If you don’t have one, you will be able to create one in the moment.
Frontend of Hello NEAR
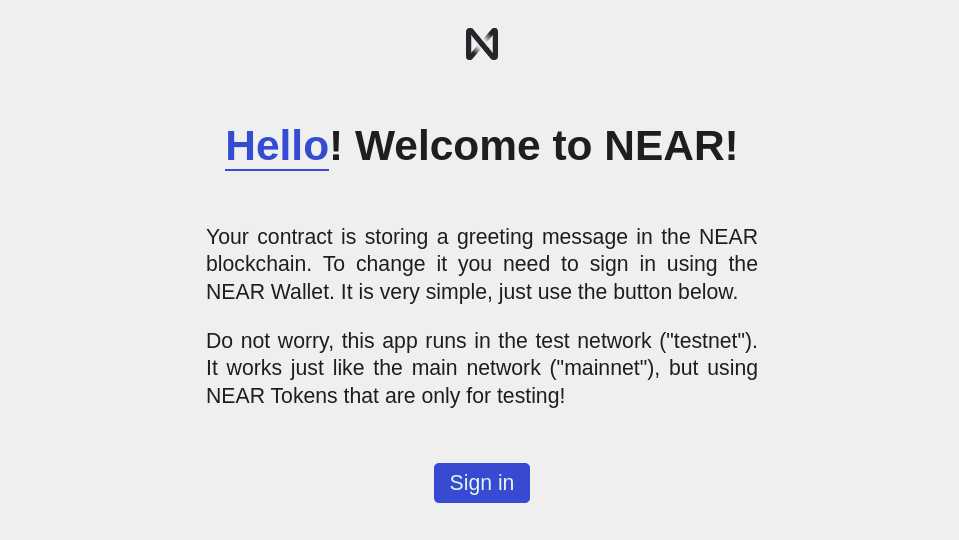
Once logged in, change the greeting and see how our Hello NEAR app greets you!
Structure of a dApp
Now that you understand what the dApp does, let us take a closer look to its structure:
-
The frontend code lives in the
/frontendfolder. -
The smart contract code is in the
/contractfolder. -
The compiled smart contract can be found in
/out/main.wasm. -
The account’s name in which the contract was deployed is in
/neardev/dev-account.
Contract
The contract presents 2 methods: set_greeting and get_greeting. The first one stores a String in the contract’s parameter message, while the second one retrieves it. By default, the contract returns the message "Hello".
-
JavaScript
contract/src/contract.ts
@NearBindgen({})
class HelloNear {
  greeting: string = "Hello";

  @view({}) // This method is read-only and can be called for free
  get_greeting(): string {
    return this.greeting;
  }

  @call({}) // This method changes the state, for which it cost gas
  set_greeting({ greeting }: { greeting: string }): void {
    // Record a log permanently to the blockchain!
    near.log(`Saving greeting ${greeting}`);
    this.greeting = greeting;
  }
}
Frontend
The frontend is composed by a single HTML file (frontend/index.html). This file defines the components displayed in the screen.
The website’s logic lives in frontend/index.js, which communicates with the contract through frontend/near-interface.js. You will notice in /frontend/index.js the following code:
-
JavaScript
frontend/index.js
window.onload = async () => {
  let isSignedIn = await wallet.startUp();

  if (isSignedIn) {
    signedInFlow();
  } else {
    signedOutFlow();
  }

  fetchGreeting();
};
It indicates our app, when it starts, to check if the user is already logged in and execute either signedInFlow() or signedOutFlow().
Testing
When writing smart contracts it is very important to test all methods exhaustively. This project has both unit and integration tests. Before digging in their code, go ahead and execute them using the command npm run test.
Unit test
Unit tests check individual functions in the smart contract. They are written in the same language than the smart contract. If your contract is in Rust you will find the tests at the bottom of each .rs file.
-
AssemblyScript
contract/assembly/__tests__/main.spec.ts
import { set_greeting, get_greeting } from '..'

describe('Greeting ', () => {
  it('should get the default greeting', () => {
    expect(get_greeting()).toBe("Hello")
  })
  it('should change the greeting', () => {
    set_greeting('howdy')
    expect(get_greeting()).toBe('howdy')
  })
})
Integration test
Integration tests can be written in both Javascript and Rust. They work by deploying the contract in a sandbox and executing methods on it. In this way, integration tests simulate interactions from users in a realistic scenario. You will find the integration tests for hello-near in integration-tests/.
-
JavaScript
integration-tests/src/main.ava.ts
test('returns the default greeting', async (t) => {
  const { contract } = t.context.accounts;
  const greeting: string = await contract.view('get_greeting', {});
  t.is(greeting, 'Hello');
});

test('changes the greeting', async (t) => {
  const { root, contract } = t.context.accounts;
  await root.call(contract, 'set_greeting', { greeting: 'Howdy' });
  const greeting: string = await contract.view('get_greeting', {});
  t.is(greeting, 'Howdy');
});