Intermediate
How to use the Brave Wallet to interact with the Cronos network
This tutorial provides a step-by-step guide on how to use the Brave Wallet to interact with the Cronos network. It starts by explaining how to add Cronos to the Brave Wallet and then provides instructions on how to create or import a wallet. Next, it guides users on how to access the settings page, navigate to the “Networks” tab, and add the Cronos network. Finally, the tutorial explains how to configure the new network and display the Cronos logo in the wallet view. By following these instructions, users will be able to connect their Brave Wallet to the Cronos network and start using it for transactions.
Add Cronos to the Brave Wallet
Let’s connect your Brave Wallet to the Cronos network:
Step 1
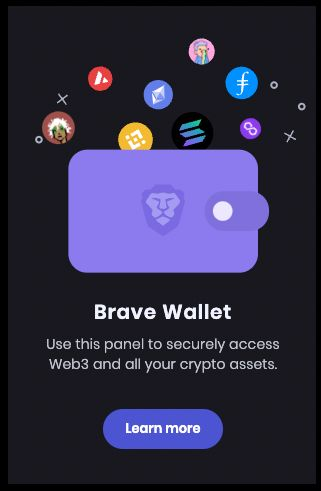
On the top right side of the Brave browser, click the (Wallet) icon.
If you don’t see it? Click Update in the toolbar for the latest version of Brave.
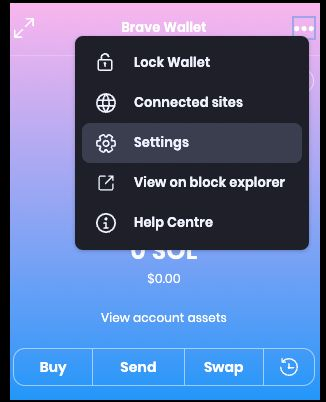
Step 2 Now follow the wizard to either create a new wallet or import an existing wallet. Once you have your wallet ready, click the three dots in the upper right corner of your wallet view and go to “settings”.
Step 3 In the settings page, under the”Wallet” tab, click “Networks”. Alternatively, you can visit brave://settings/wallet/networks in the browser URL.
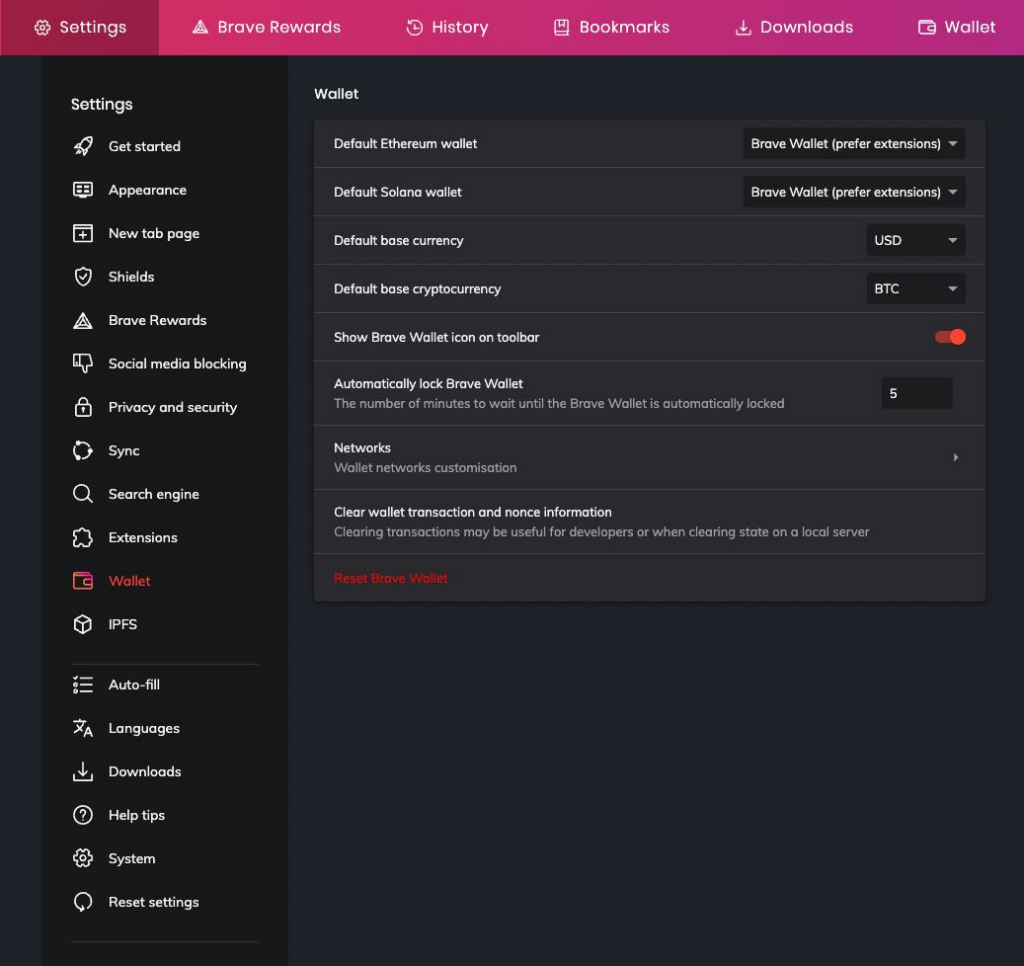
Step 4 Now in the list of networks, click “Add” in the top right corner to add a Cronos network.

Step 5 A new window to add config for a new network will pop up. Under “Search network”, select “25 Cronos Network” from the drop-down menu for Cronos Mainnet or “338 Testnet” for testnet. Now, most fields should be pre-populated, as shown below:
In order to display the Cronos logo, set the “Icon URLs” field to
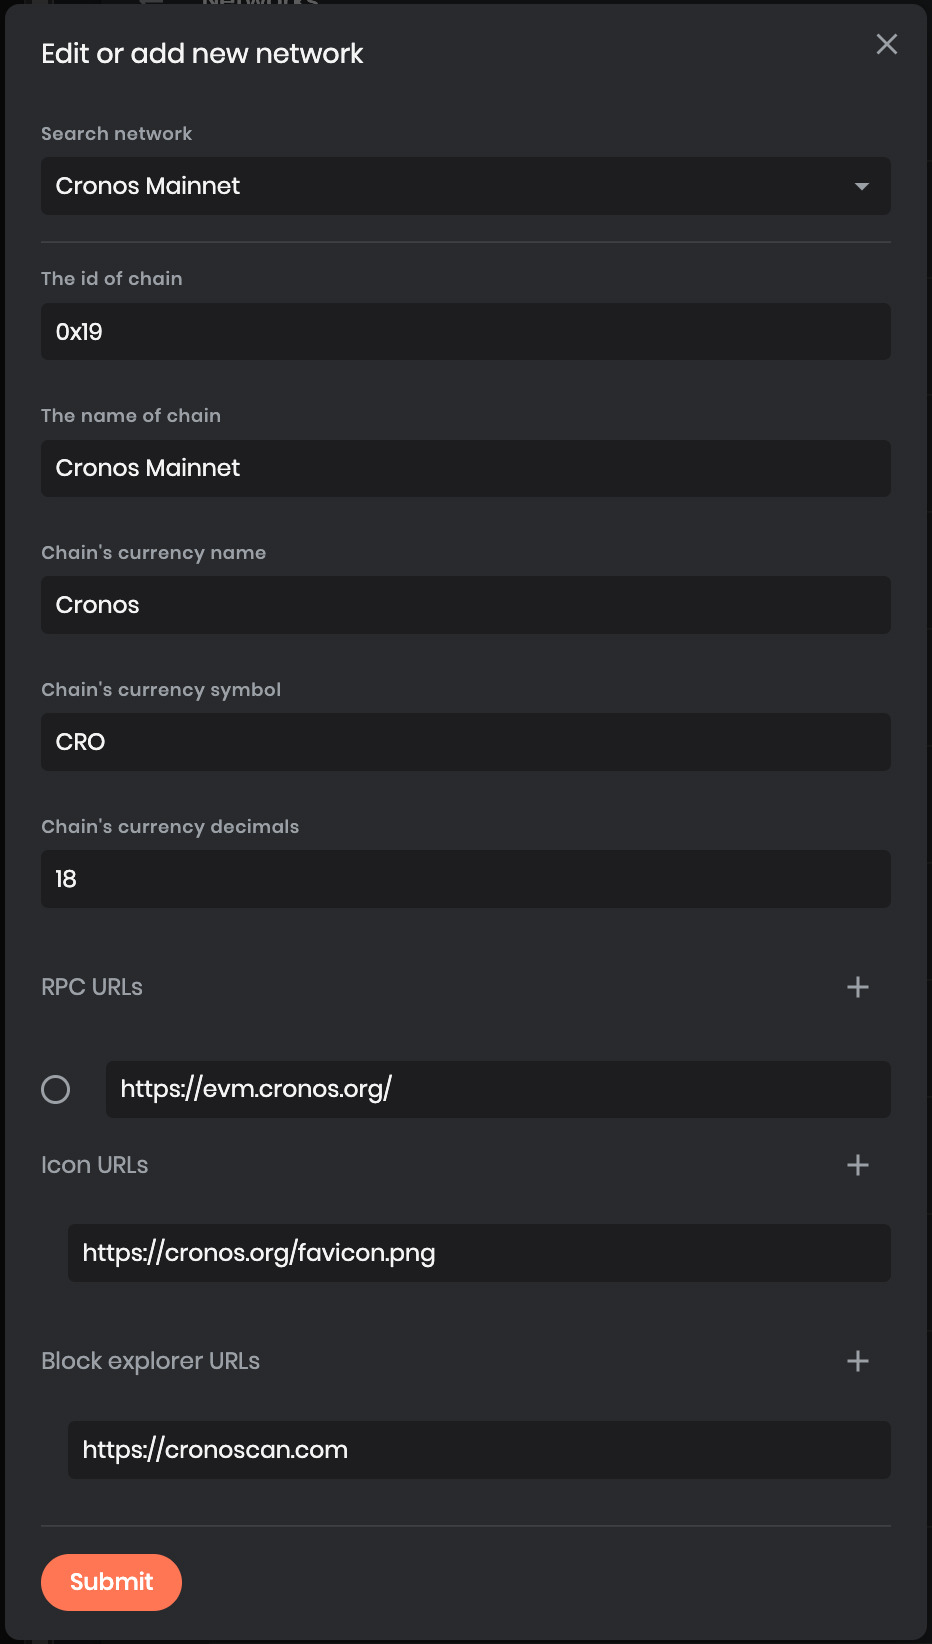
https://cronos.org/favicon.png
and click “Submit”.
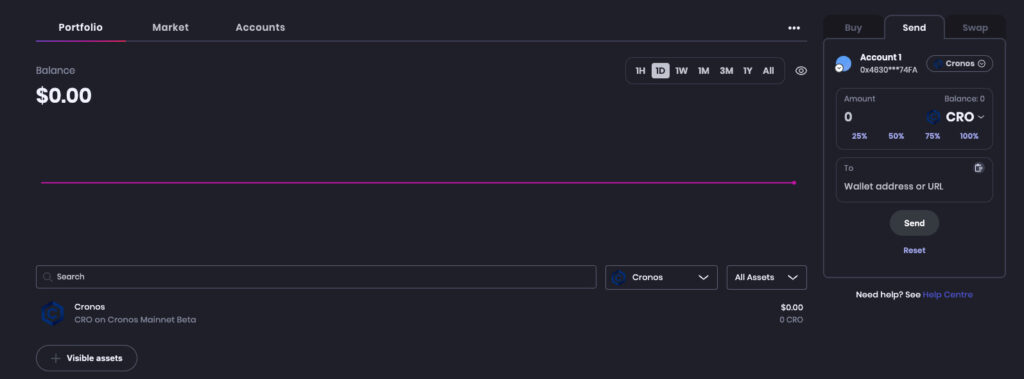
Step 6 Congratulations, we should now be able to see the Cronos network in the wallet view.