
Beginner
How to verify BEP20 (Proxy) Contacts
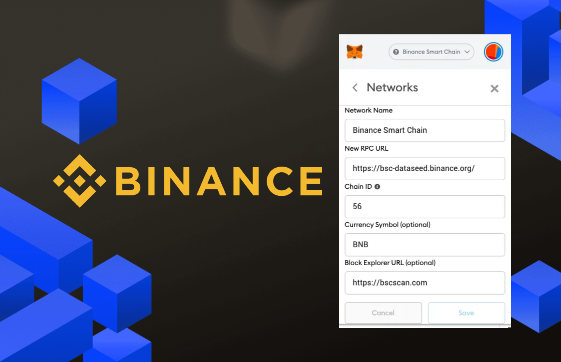
In the world of blockchain, smart contracts play a crucial role in executing transactions and automating processes. With the growing popularity of Binance Smart Chain (BSC), BEP20 (Proxy) contracts are becoming an increasingly important aspect of this ecosystem. In this tutorial, we’ll be exploring the process of verifying BEP20 (Proxy) contracts on BSC.
Verifying a BEP20 (Proxy) contract is a critical step to ensure its security and functionality. By verifying the contract, you can check its source code, validate its deployment, and confirm that it functions as intended. This tutorial will provide a step-by-step guide on how to verify BEP20 (Proxy) contracts on BSC using a variety of tools and platforms. Whether you’re a seasoned blockchain developer or just starting out, this tutorial will provide the necessary knowledge and resources to get started.
Flatten your contract
Install flattener
npm install truffle-flattener -g
Run the following command:
$ truffle-flattener BEP20TokenImplementation.sol > BEP20TokenImplementationFlattened.sol
$ truffle-flattener BEP20UpgradeableProxy.sol > BEP20UpgradeableProxyFlattened.sol"
Compile and deploy your contract with Remix
Compile Implementation contract
-
Open Remix IDE: https://remix.ethereum.org
-
Select solidity language
-
Create a new contract
BEP20Token.soland copy the contract code from flattenedBEP20TokenImplementationFlattened.sol -
Compile the implementation contract
-
Click on this button to switch to the compile page
-
Select “BEP20TokenImplementation” contract
-
Enable “Auto compile” and “optimization”
-
Click “ABI” to copy the contract abi and save it.
-
Deploy the implementation contract
-
Select “Injected Web3”
-
Select “BEP20TokenImplementation” contract
-
Click the “Deploy” button and Metamask will pop up
-
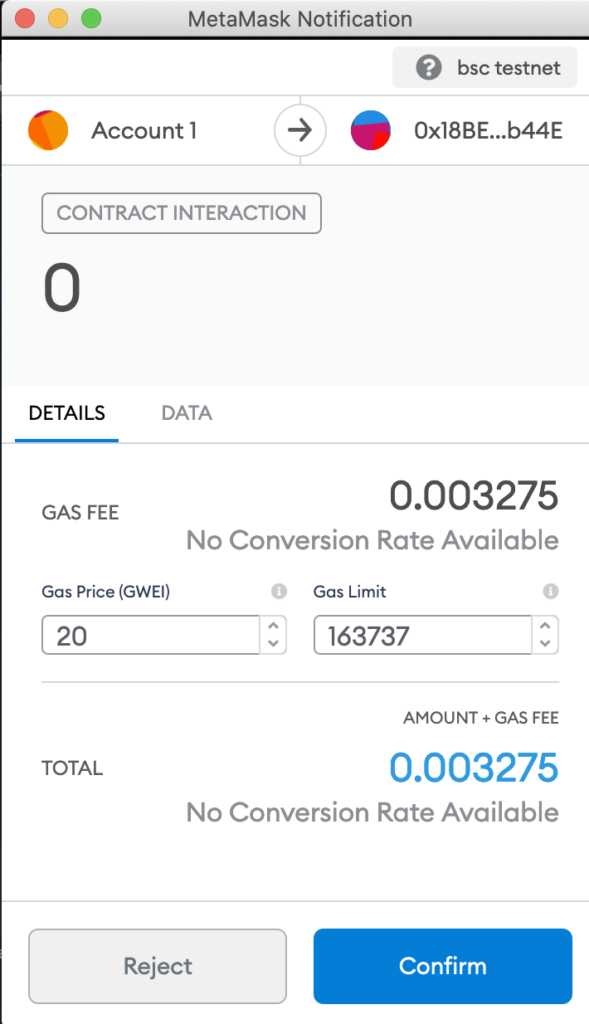
Click the “confirm” button to sign and broadcast the transaction to BSC.
-
Then, you need to initialize the token: fill in all the parameters and click on “transact”
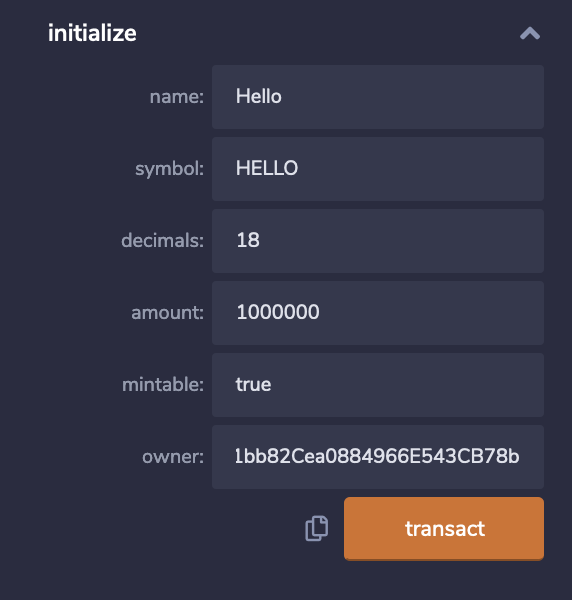
NOTE
Owner should be the address who send the deploy transaction before.
-
Click on the “Copy” icon to save the initializatioin data: Like the following: “`
Confirm your transaction in MetaMask
Compile Proxy Contract
-
Create new contract proxy.sol and copy contract code from flattened
BEP20UpgradeableProxyFlattened.sol. Here is and example -
Compile the proxy contractClick on this button to switch to the compile page
-
Select “BEP20UpgradeableProxy” contract
-
Enable “Auto compile” and “optimization”Click “ABI” to copy the contract abi and save it.
-
Deploy the proxy contract
-
Select “Injected Web3”Select “BEP20UpgradeableProxy.sol” contract
-
Fill in the parameters
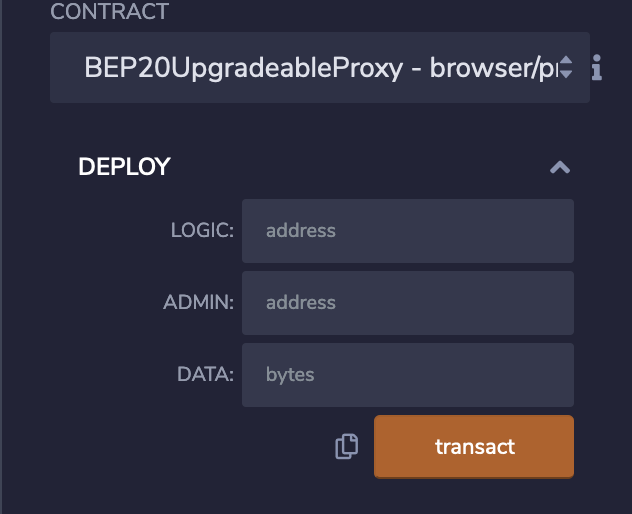
Logic: The address of BEP20Implementation contract Admin: admin cannot be BEP20 token owner Data: use the initialization data you saved before
-
Click the “Deploy” button and Metamask will pop up
-
Click the “confirm” button to sign and broadcast a transaction to BSC.
Verify Proxy Contract on BscScan
Note: The way to verify the BEP20TokenImplementation contract is the same as before.
-
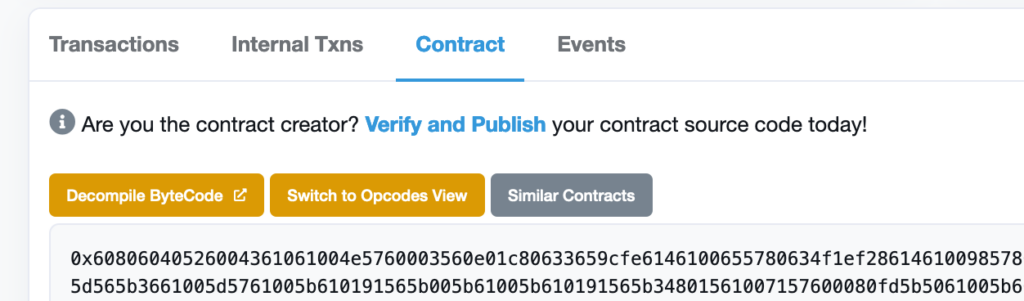
Go to your contact page and click on “Verify and Publish”
-
Select Single file
-
Copy your contract code below and check “Optimization” if it’s enabled
-
Contractor Data: Please use this site for getting the correct constructor data: ABI Encoding Service Online for Solidity Smart Contracts by HashEx
First, you need to copy ABI json of “BEP20UpgradeableProxy.sol” contractThen, click on “Parse”
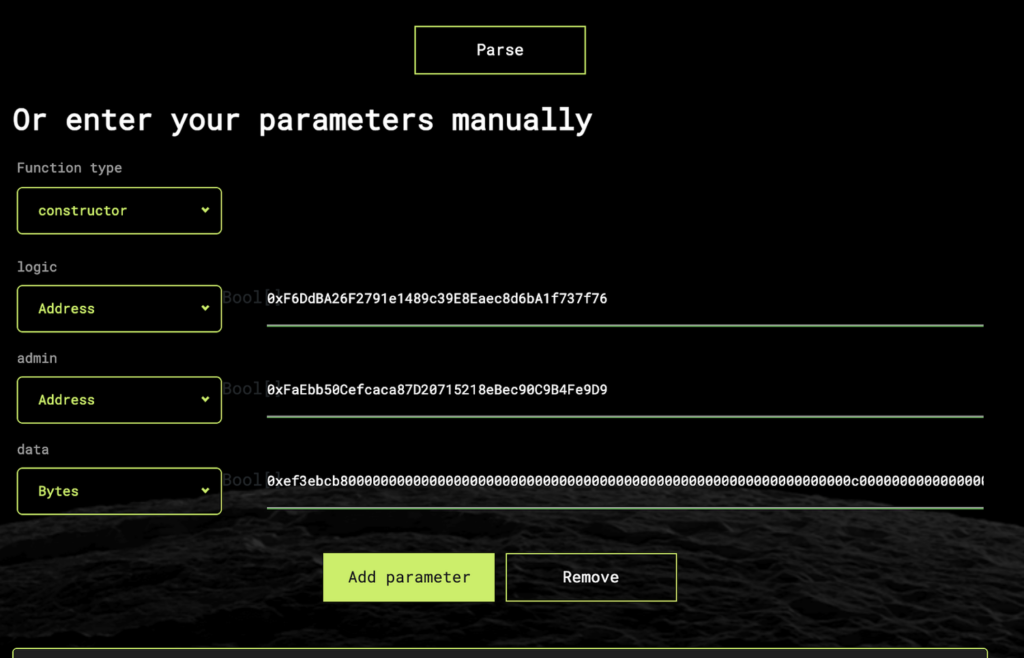
Add all those 3 parameters as indicated. Then copy/paste the result.
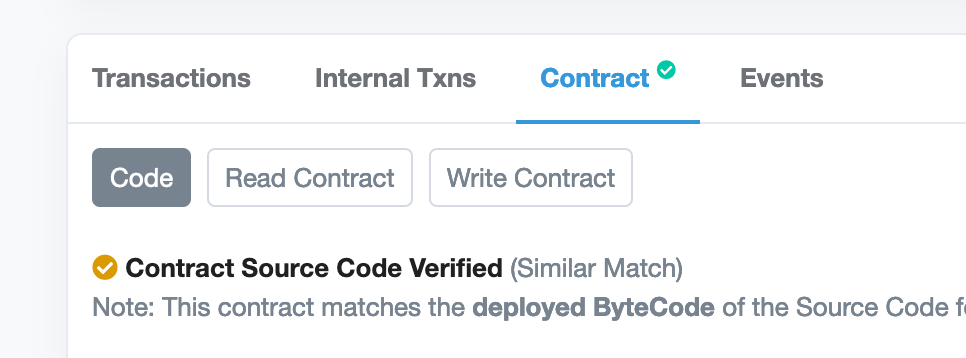
That’s it! You have verified your proxy contract.
Link these two contracts
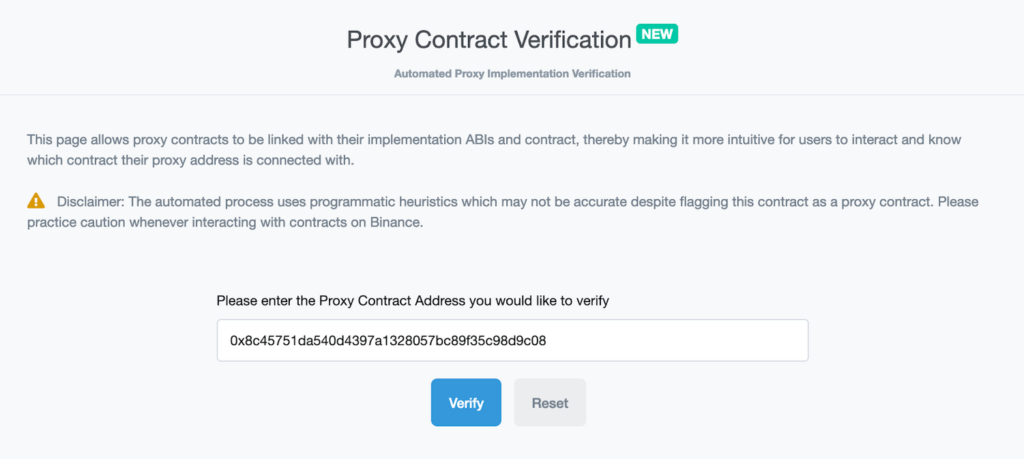
- Click on “More Options” and choose “is this a proxy”.
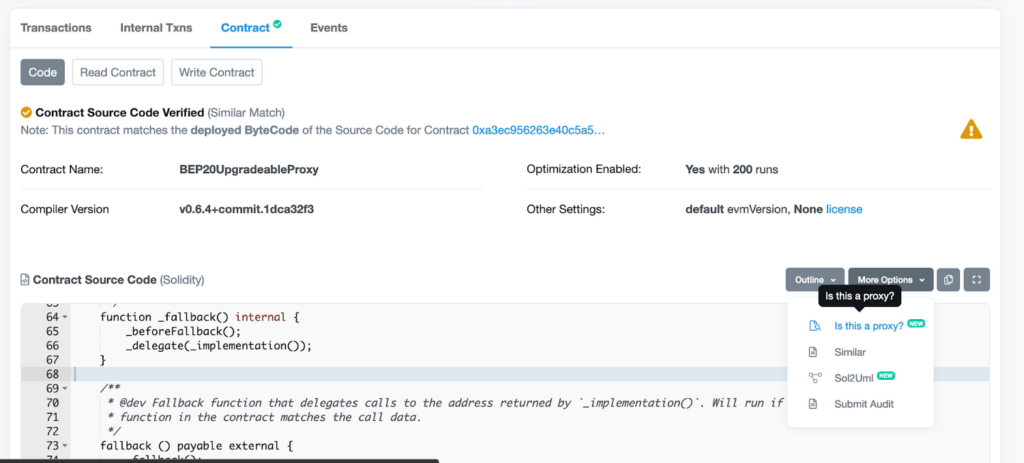
-
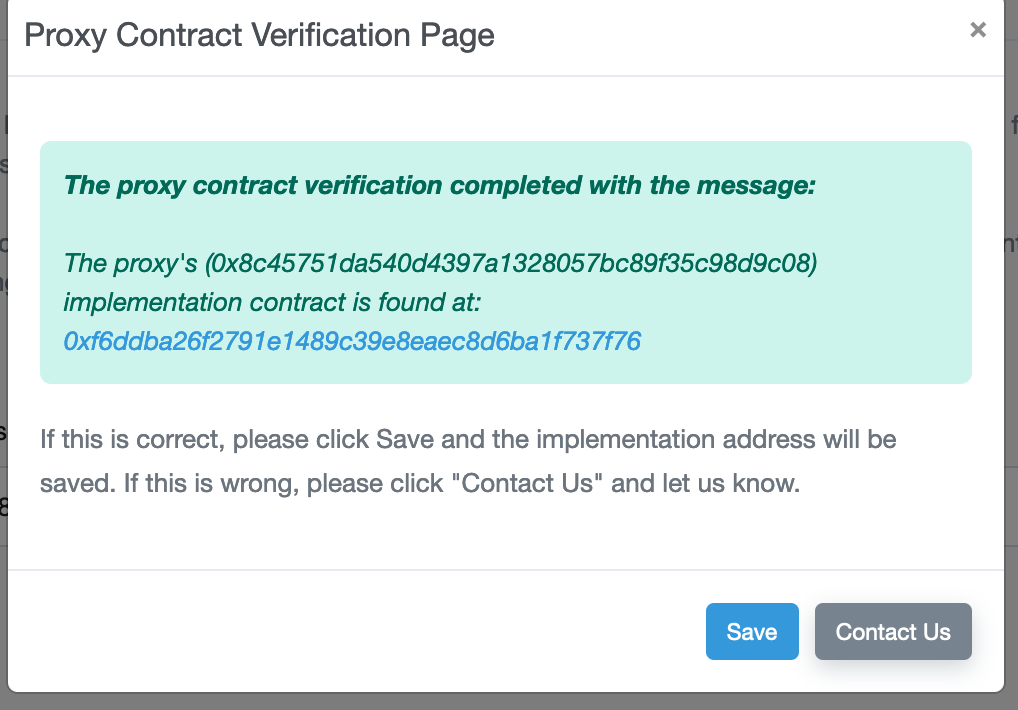
Verify your proxy address
Confirm the implementation address.
If you go back to the contract page and you can see two more buttons “Read as Proxy” and “Write as Proxy”
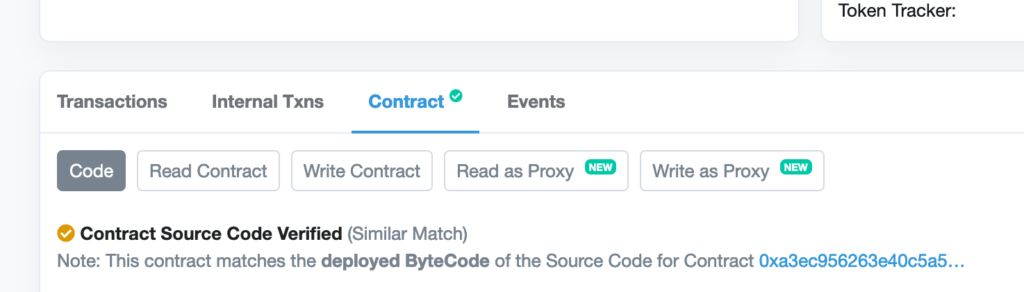
With this, you complete this workshop successfully!!