

Beginner
Send and Receive Payments
Welcome to this tutorial on how to send and receive payments on the Stellar network. In this tutorial, we will provide step-by-step instructions on how to set up a server connection, create a transaction object, sign and submit a transaction, and check the transaction status. Whether you are new to Stellar or just looking to refresh your knowledge, this tutorial will provide you with the tools you need to make payments on the Stellar network with confidence.
For Sending a Payment
Following these steps to send money to destination account
Install visual studio and node
Download Link
Visual studio :- “https://code.visualstudio.com/download”
Node :-“ Download | Node.js
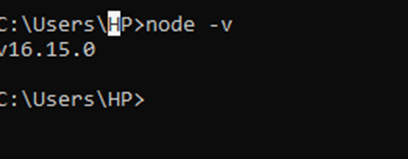
Open a command prompt and check if Node is installed by typing: “node -v”
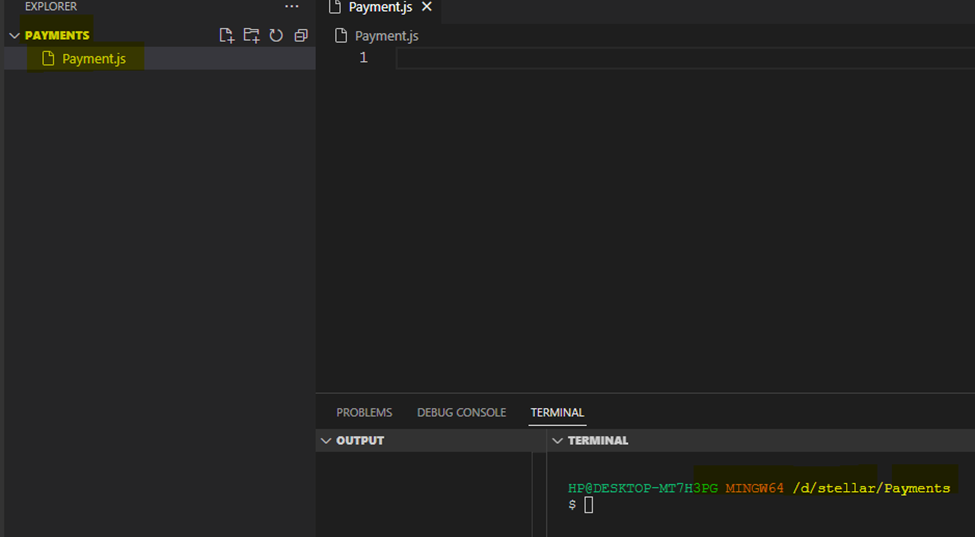
- Create a new folder and open it in Visual Studio Code.
- In the folder, create a file called “Payments.js”.
-
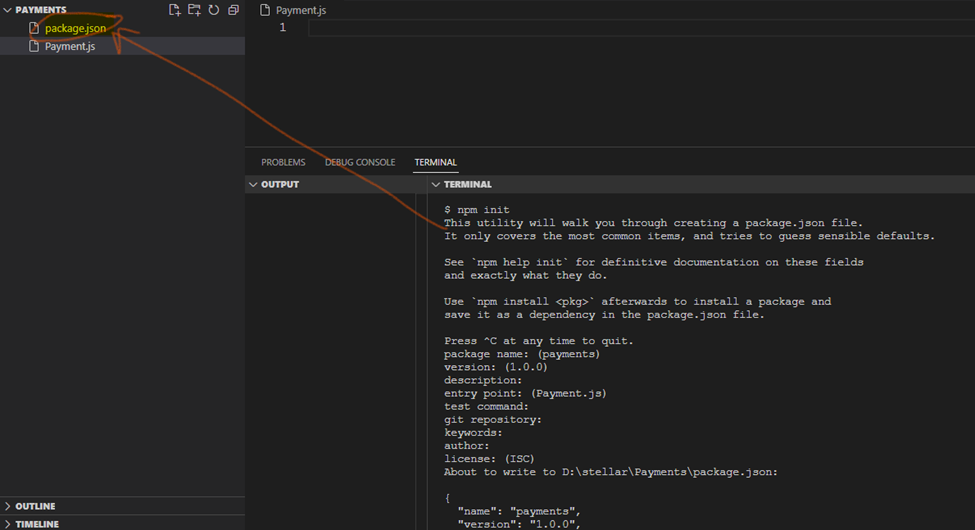
Open a cmd in vs code and Type npm init and create a Package.json file
- Install the Stellar SDK by typing: “npm install –save @stellar/sdk” in the command prompt.
- Import the Stellar SDK into your Payments.js file by adding this line of code: “const StellarSdk = require(‘@stellar/sdk’);”
- Set up your server connection by adding the following code to your Payments.js file:
- const server = new StellarSdk.Server(‘https://horizon-testnet.stellar.org’);
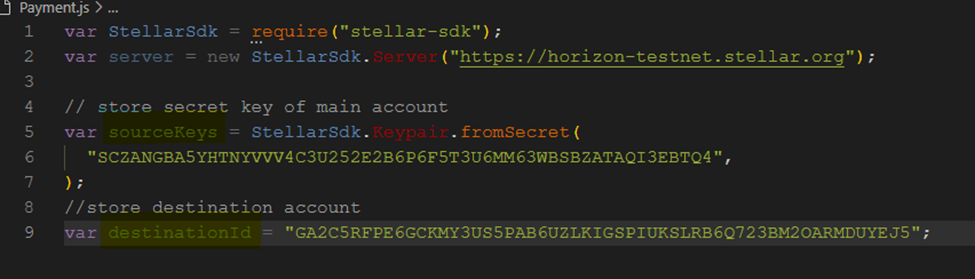
Load the source account by adding the following code to your Payments.js file:
const sourceKeys = StellarSdk.Keypair.fromSecret('YOUR_SECRET_KEY');

const sourceAccount = await server.loadAccount(sourceKeys.publicKey());
Set up the destination account by adding the following code to your Payments.js file:
const destinationId = 'DESTINATION_ACCOUNT_ID'
Create a transaction object by adding the following code to your Payments.js file:
const transaction = new StellarSdk.TransactionBuilder(sourceAccount)
  .addOperation(
    StellarSdk.Operation.payment({
      destination: destinationId,
      asset: StellarSdk.Asset.native(),
      amount: "AMOUNT_TO_SEND",
    })
  )
  .build();
Load the source account by adding the following code to your Payments.js file:
const sourceKeys = StellarSdk.Keypair.fromSecret('YOUR_SECRET_KEY');

const sourceAccount = await server.loadAccount(sourceKeys.publicKey());
Set up the destination account by adding the following code to your Payments.js file:
const destinationId = 'DESTINATION_ACCOUNT_ID'
Create a transaction object by adding the following code to your Payments.js file:
transaction.sign(sourceKeys)
Submit the transaction by adding the following code to your Payments.js file:
await server.submitTransaction(transaction);
Check the transaction status by adding the following code to your Payments.js file:
console.log(Transaction successful! Hash: ${transaction.hash});
With these steps, you should now be able to send money to a destination account on the Stellar network. Remember to replace “YOUR_SECRET_KEY” and “DESTINATION_ACCOUNT_ID” with the appropriate values, and to specify the amount you want to send in the “AMOUNT_TO_SEND” field.